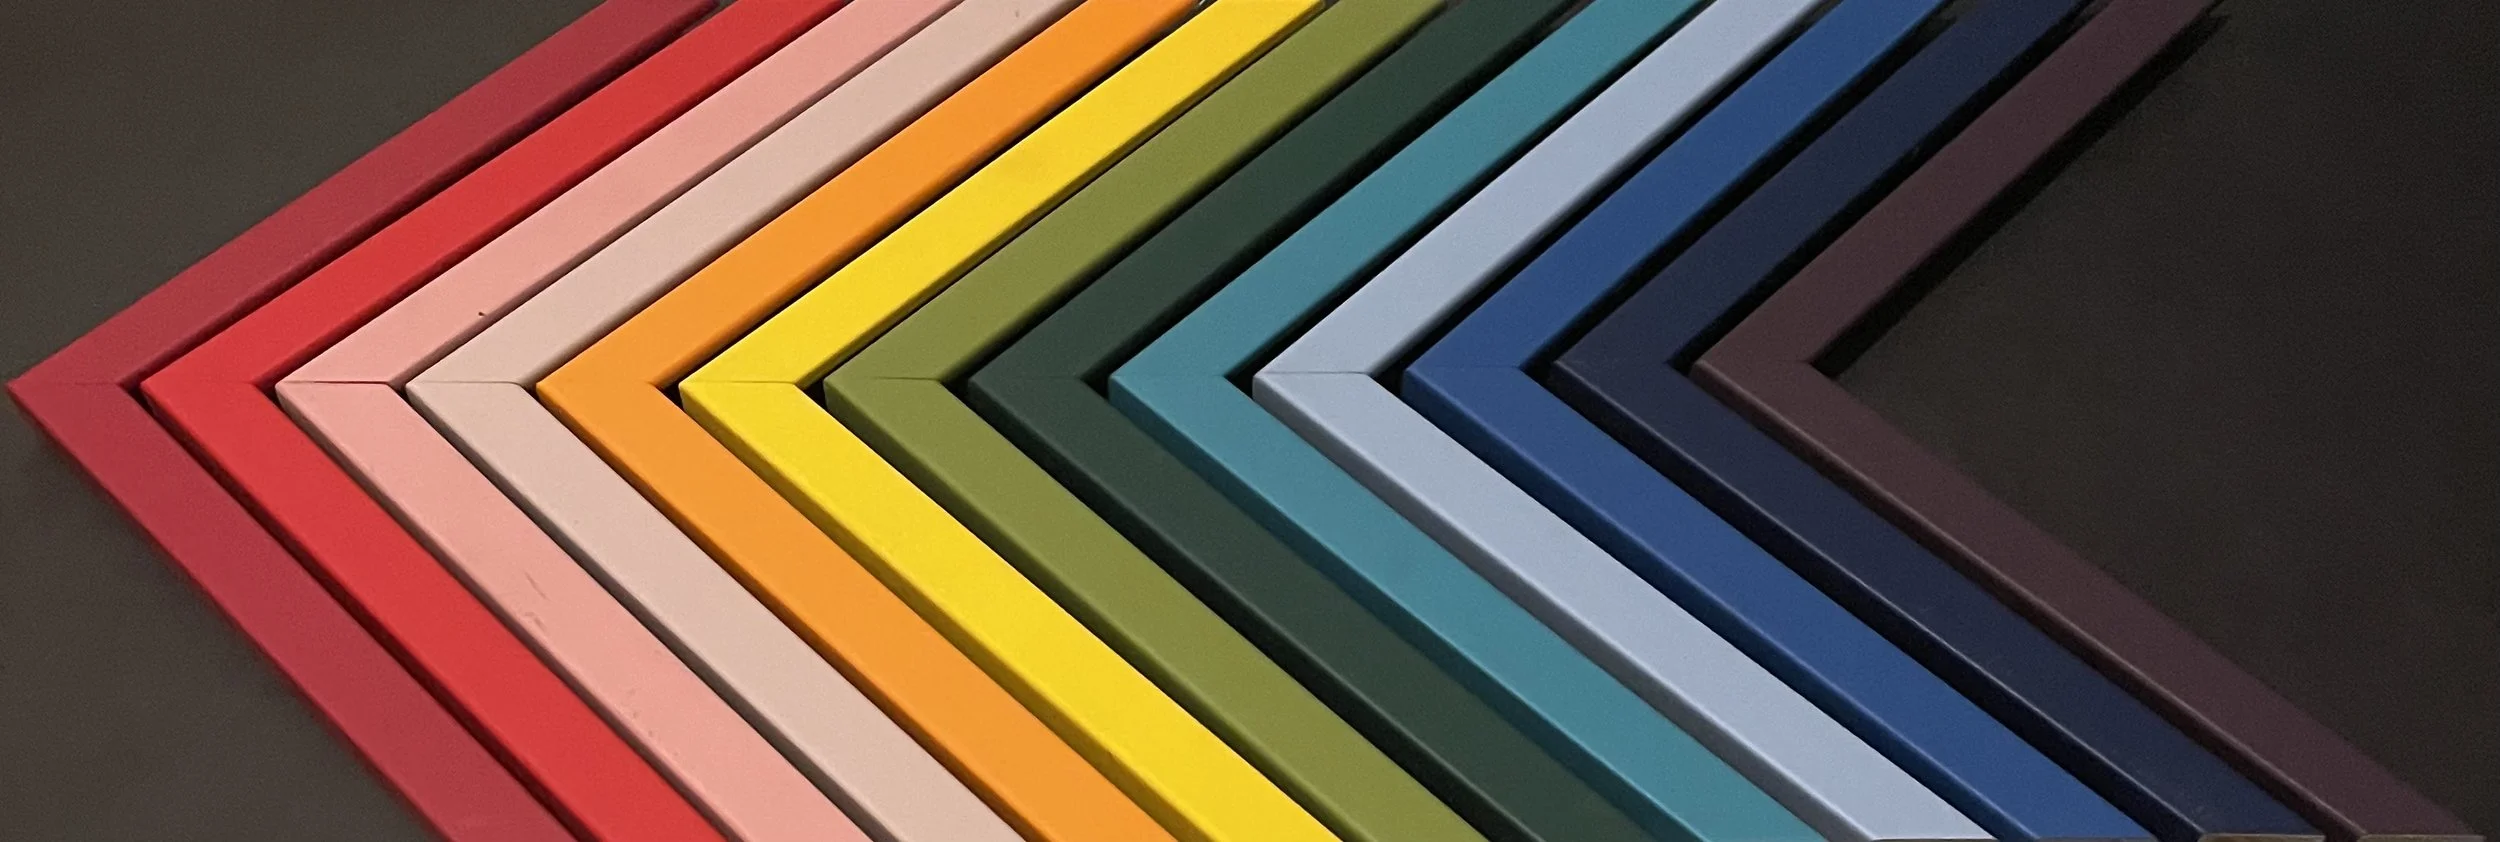
Hi, I’m Sarah! I make custom picture frames in Oklahoma City. From diplomas and awards to jerseys and family keepsakes, every piece is framed with the highest quality archival materials, so your memories will be preserved for years to come.
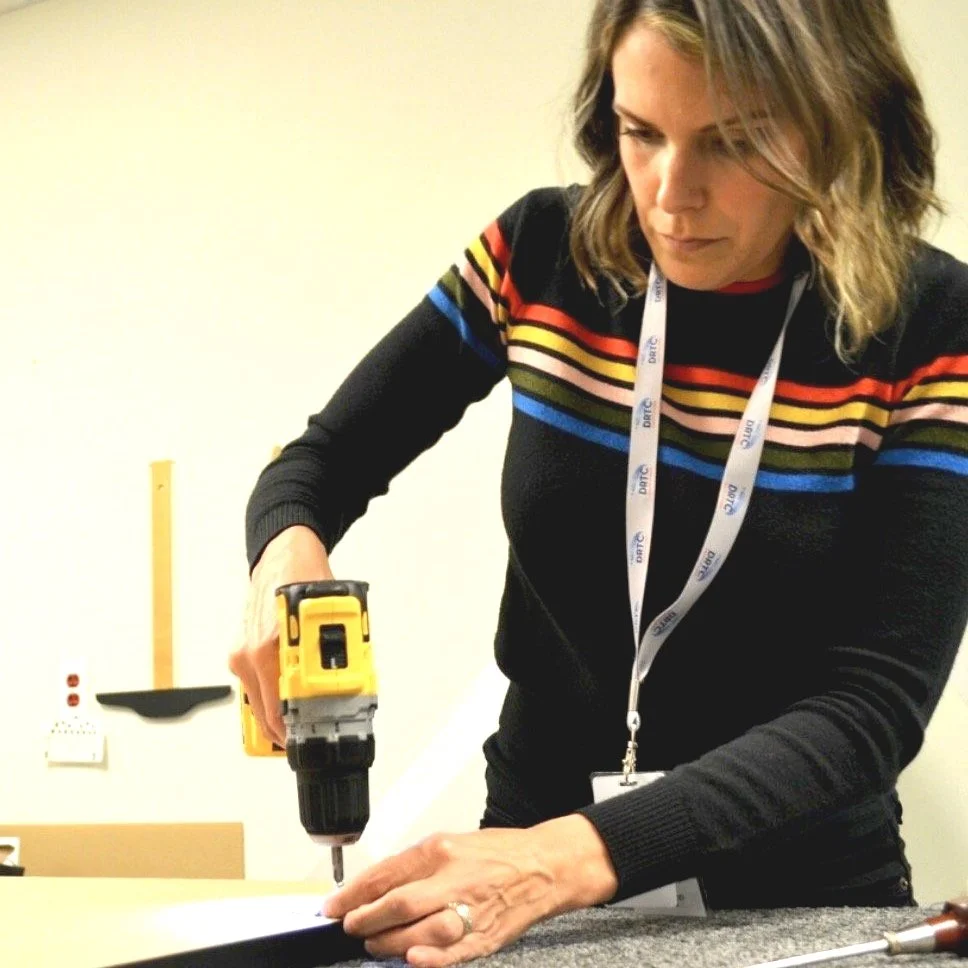
A little history
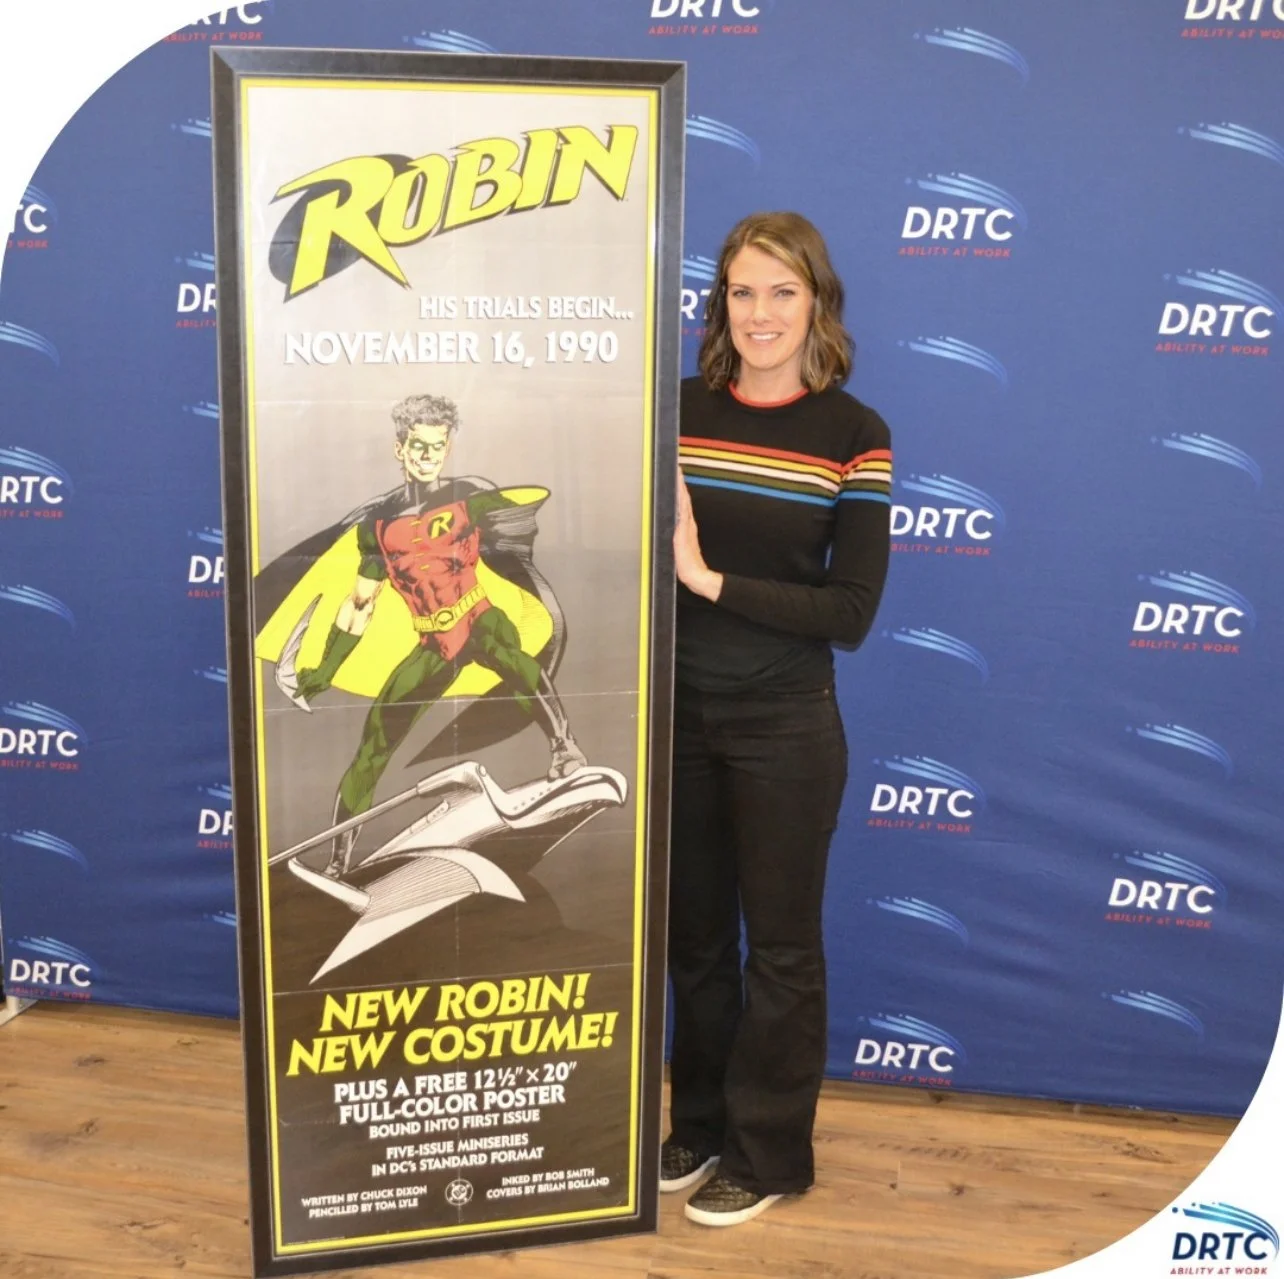
At DRTC I had access to equipment to make REALLY BIG frames. I miss that!
For two and a half years I made custom frames at DRTC. I got to train individuals with developmental disabilities to prepare them for the workplace, but I also learned a lot from them. I loved my time there!
After DRTC ended their framing program, I added custom framing to my art business!
“why do I need custom picture framing?”
These days, anyone can go online or walk into a big box store and buy a photo frame, and that’s fine for some things. But if you’re framing something special, do you know how to pick out the best quality frame, the different kinds of glass, or what to be aware of? If you’re framing something that you want to last for years or even generations, you need custom framing. Not to mention custom means any size down to the sixteenth of an inch, and even some odd shapes.
Its just like when your hair stylist tells you to beware of box color. Not only will a professional job look better, it will last, and most importantly it won’t damage your artwork.
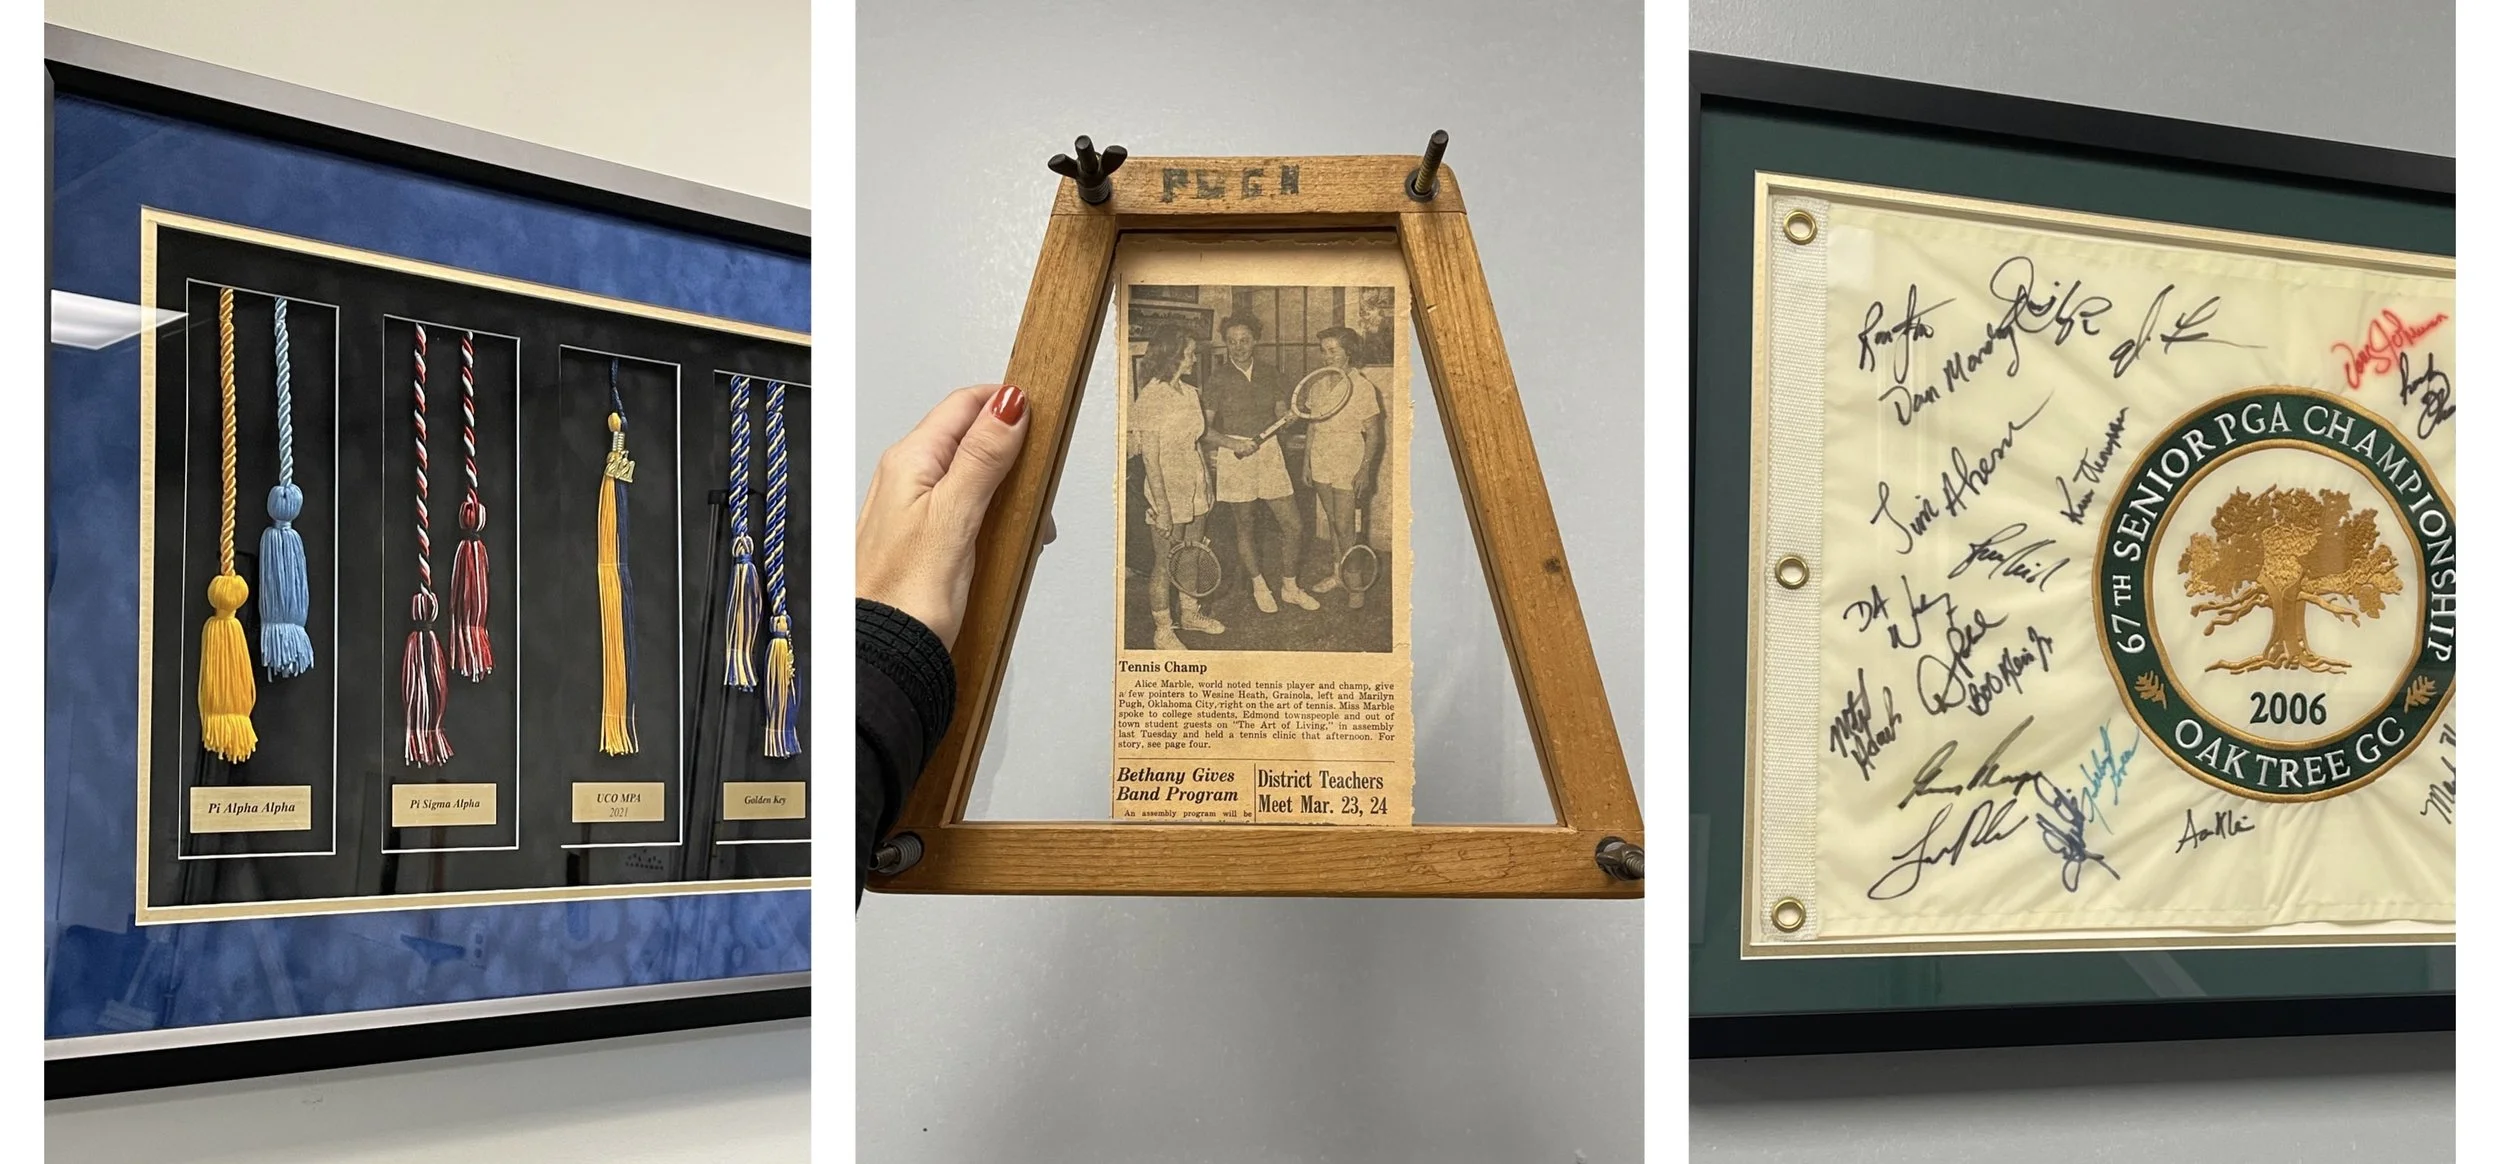
If you’re ready to dive in, you can make an appointment through the link below.
If you still need convincing or have more questions or are just curious, keep reading.
different types of frames
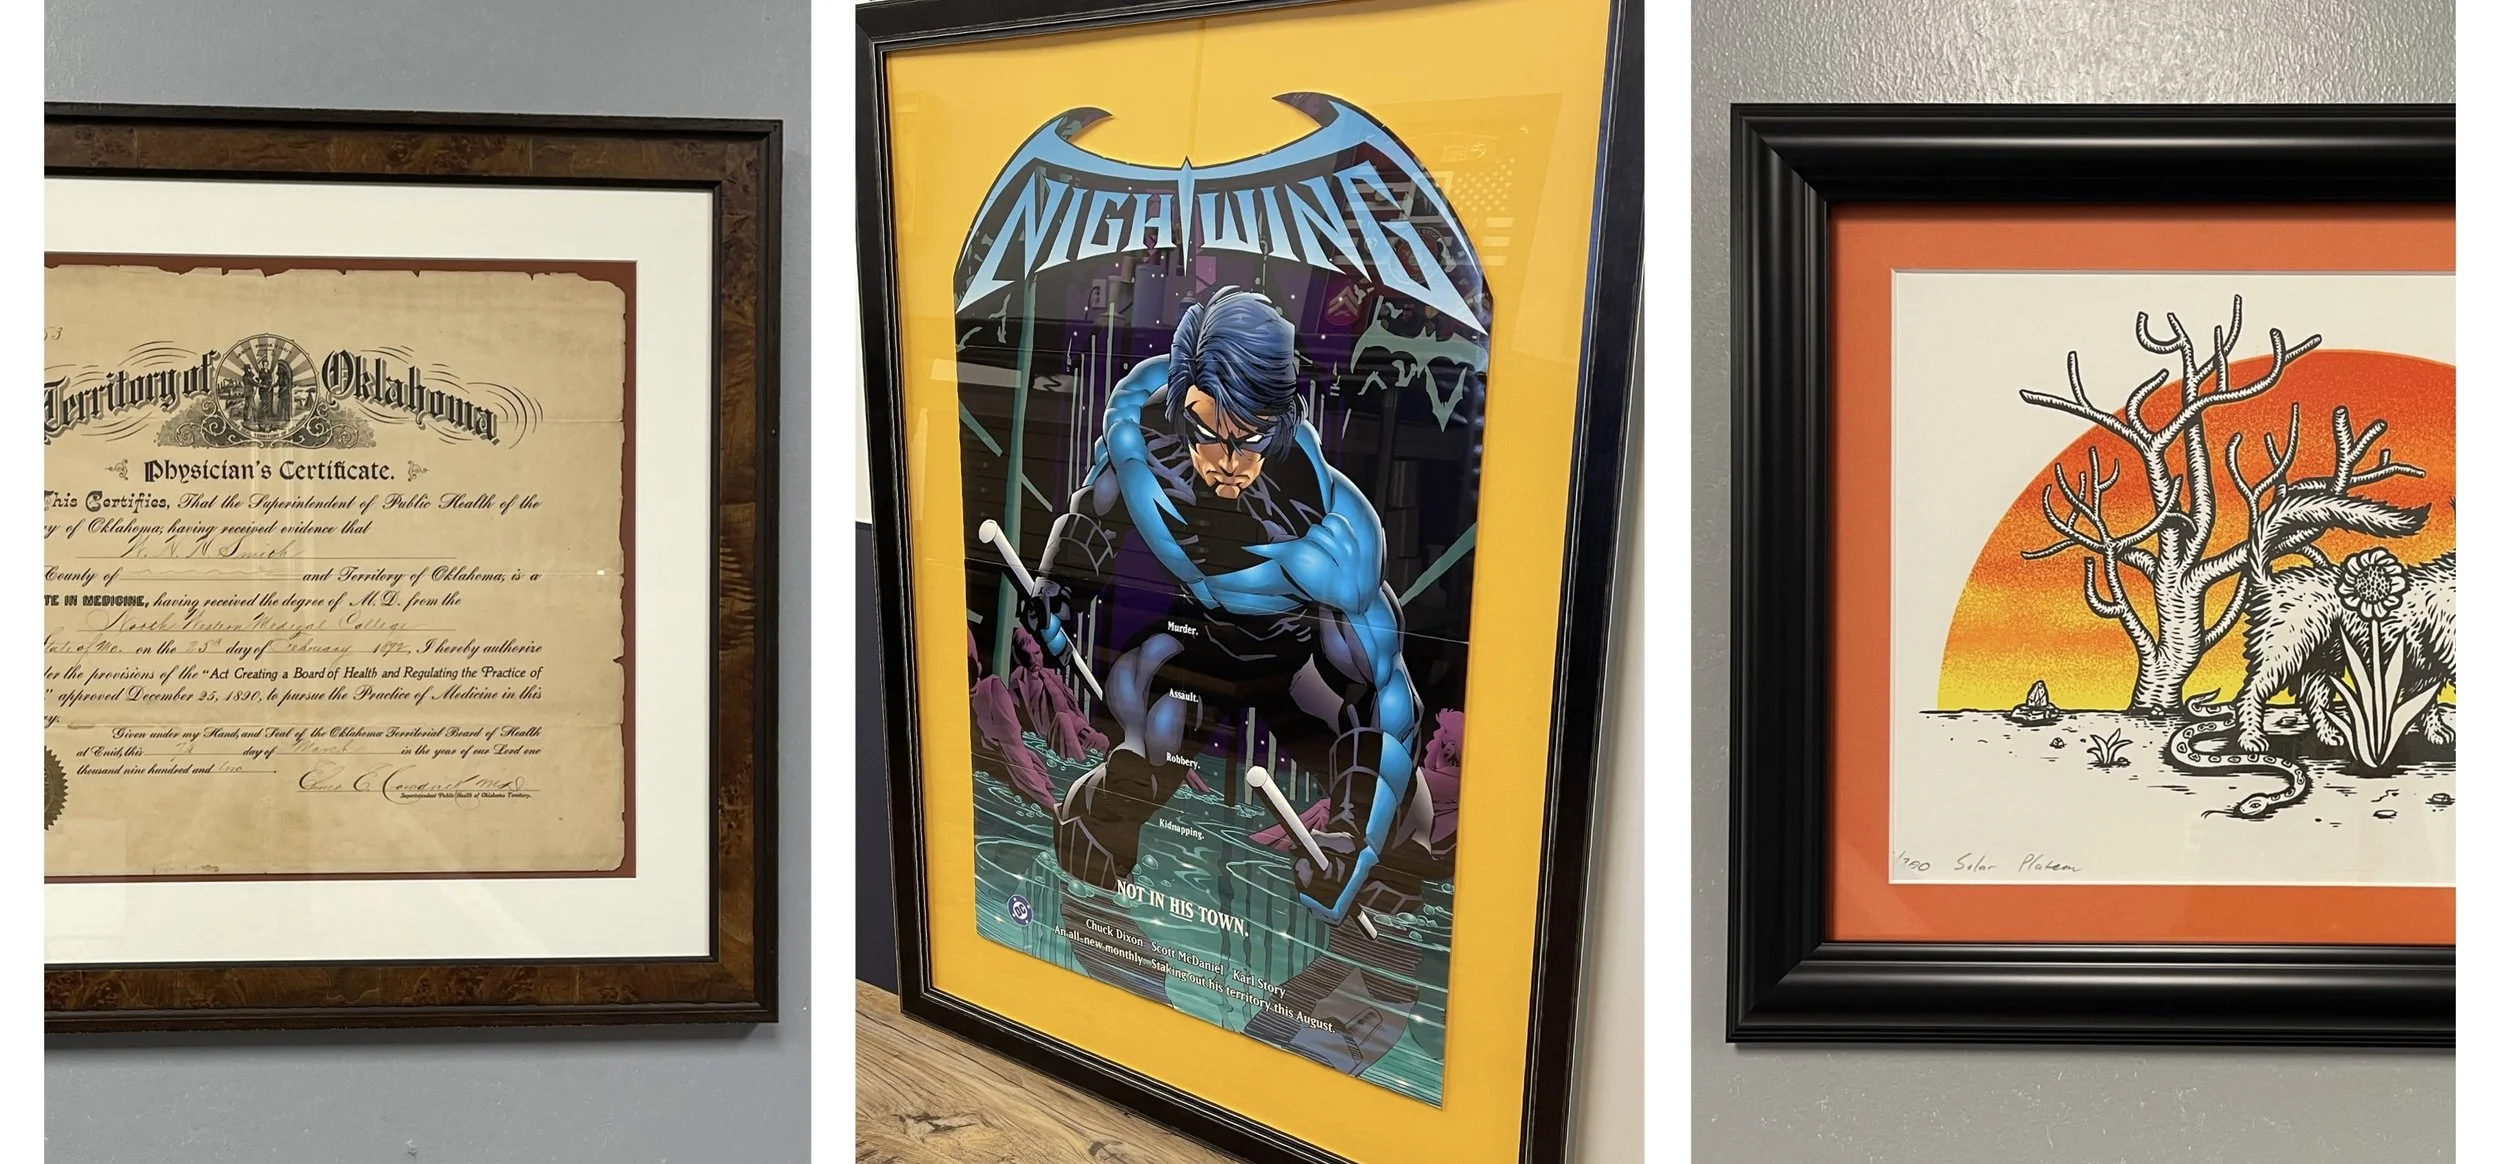
2D paper document, diploma, award, photo, artwork, poster
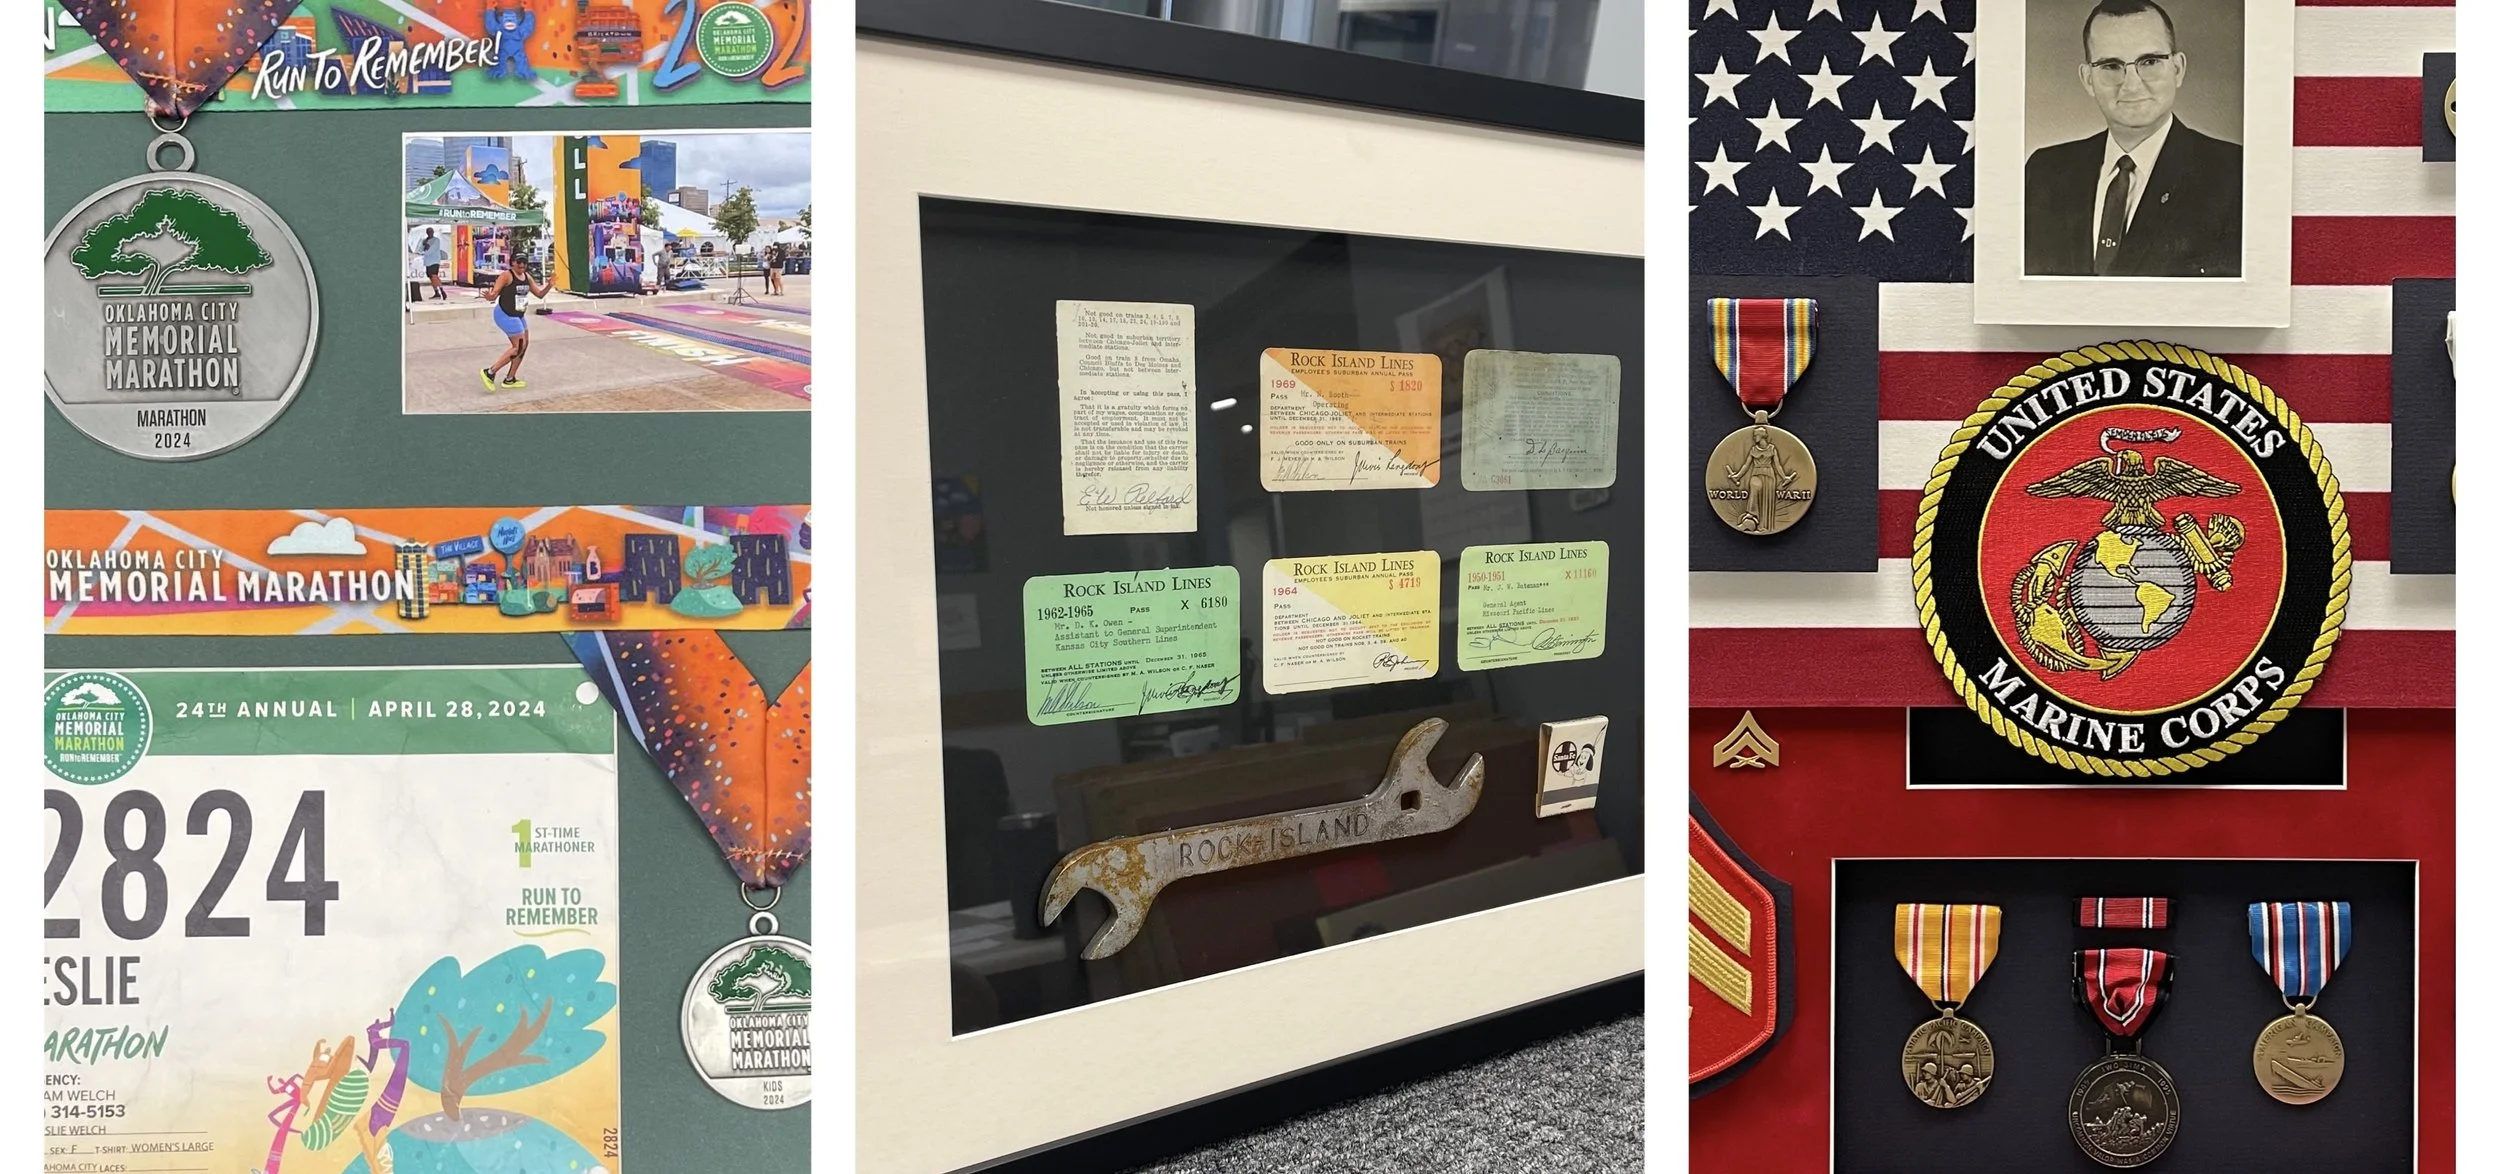
3D medal, collection, needlepoint, bunting, anything really
components of a frame
I’ll break these down further below.
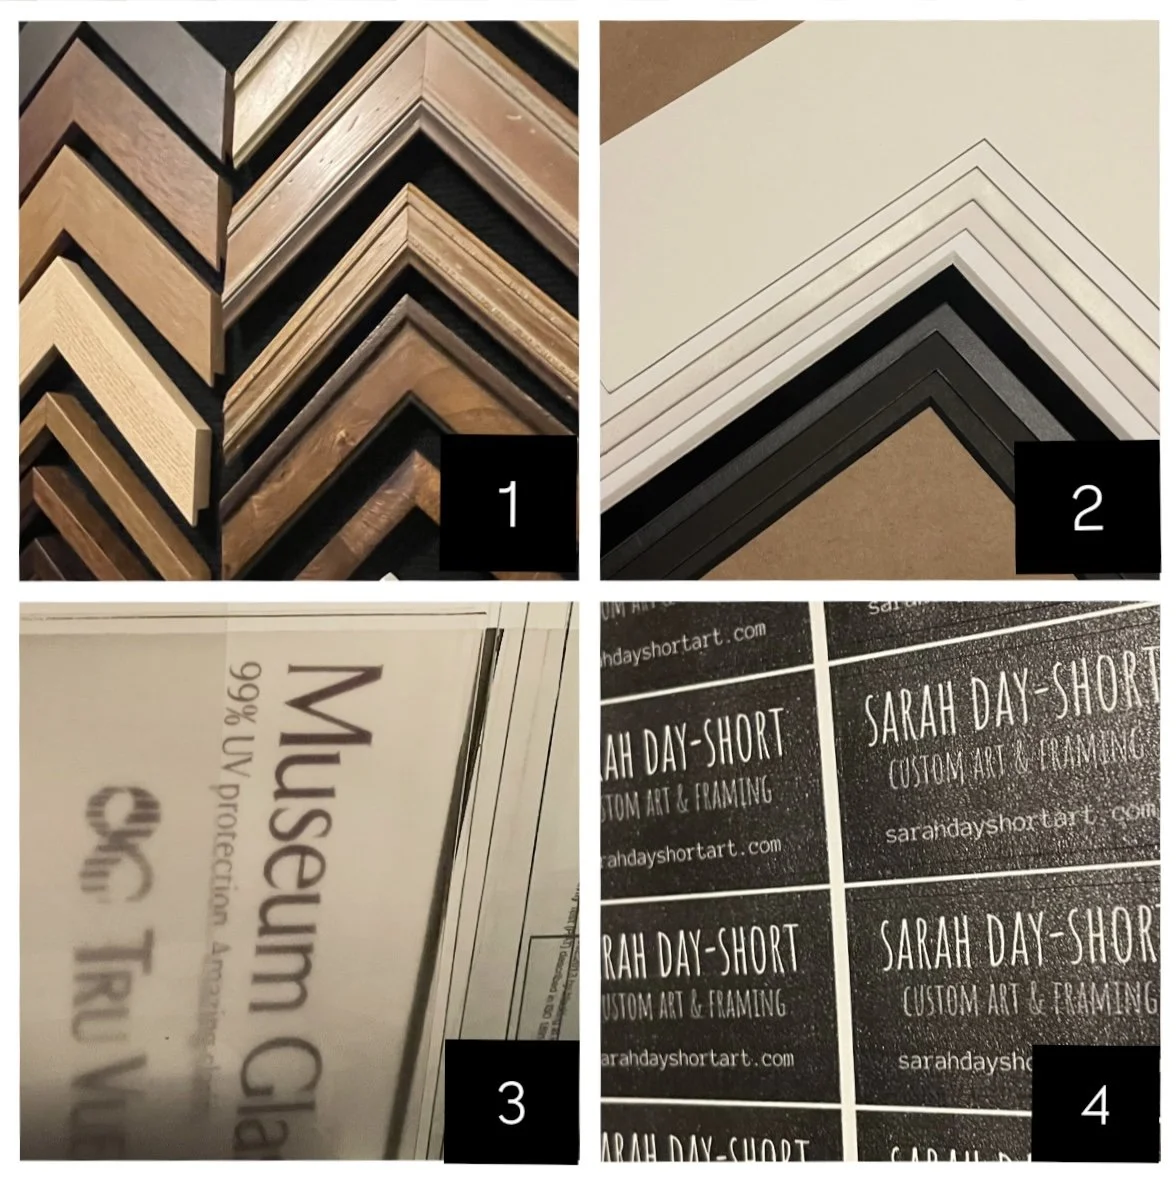
moulding - the wood surround (the frame itself) has endless possibilities
mat board - in every color imaginable, different thicknesses & textures
glass - varying levels of UV protection, anti reflective & shatter resistant
mounting, backing boards & hanging hardware
ARCHIVAL
-----
ARCHIVAL -----
One word you’ll hear me use often is archival. This is a word used in the art world pretty often, but I realize now that most people don’t know what it means.
If you want to “archive” something, you want it to last forever, you want to preserve it. Every component of a frame needs to be archival.
breakdown of materials
moulding
Choosing a moulding can be overwhelming. I usually get a feel for what you’re looking for and only pull a few samples. We can always see more later.
always solid wood, always archival

The possibilities are truly endless with colors, finishes, styles, stacking of multiple frames, and canvas float frames. It’s the most fun part of the process for me. I wholesale order my mouldings pre-cut and already put together. It’s a little more expensive on my end to do it this way, but this is one step I’d rather pay a woodworker to do.
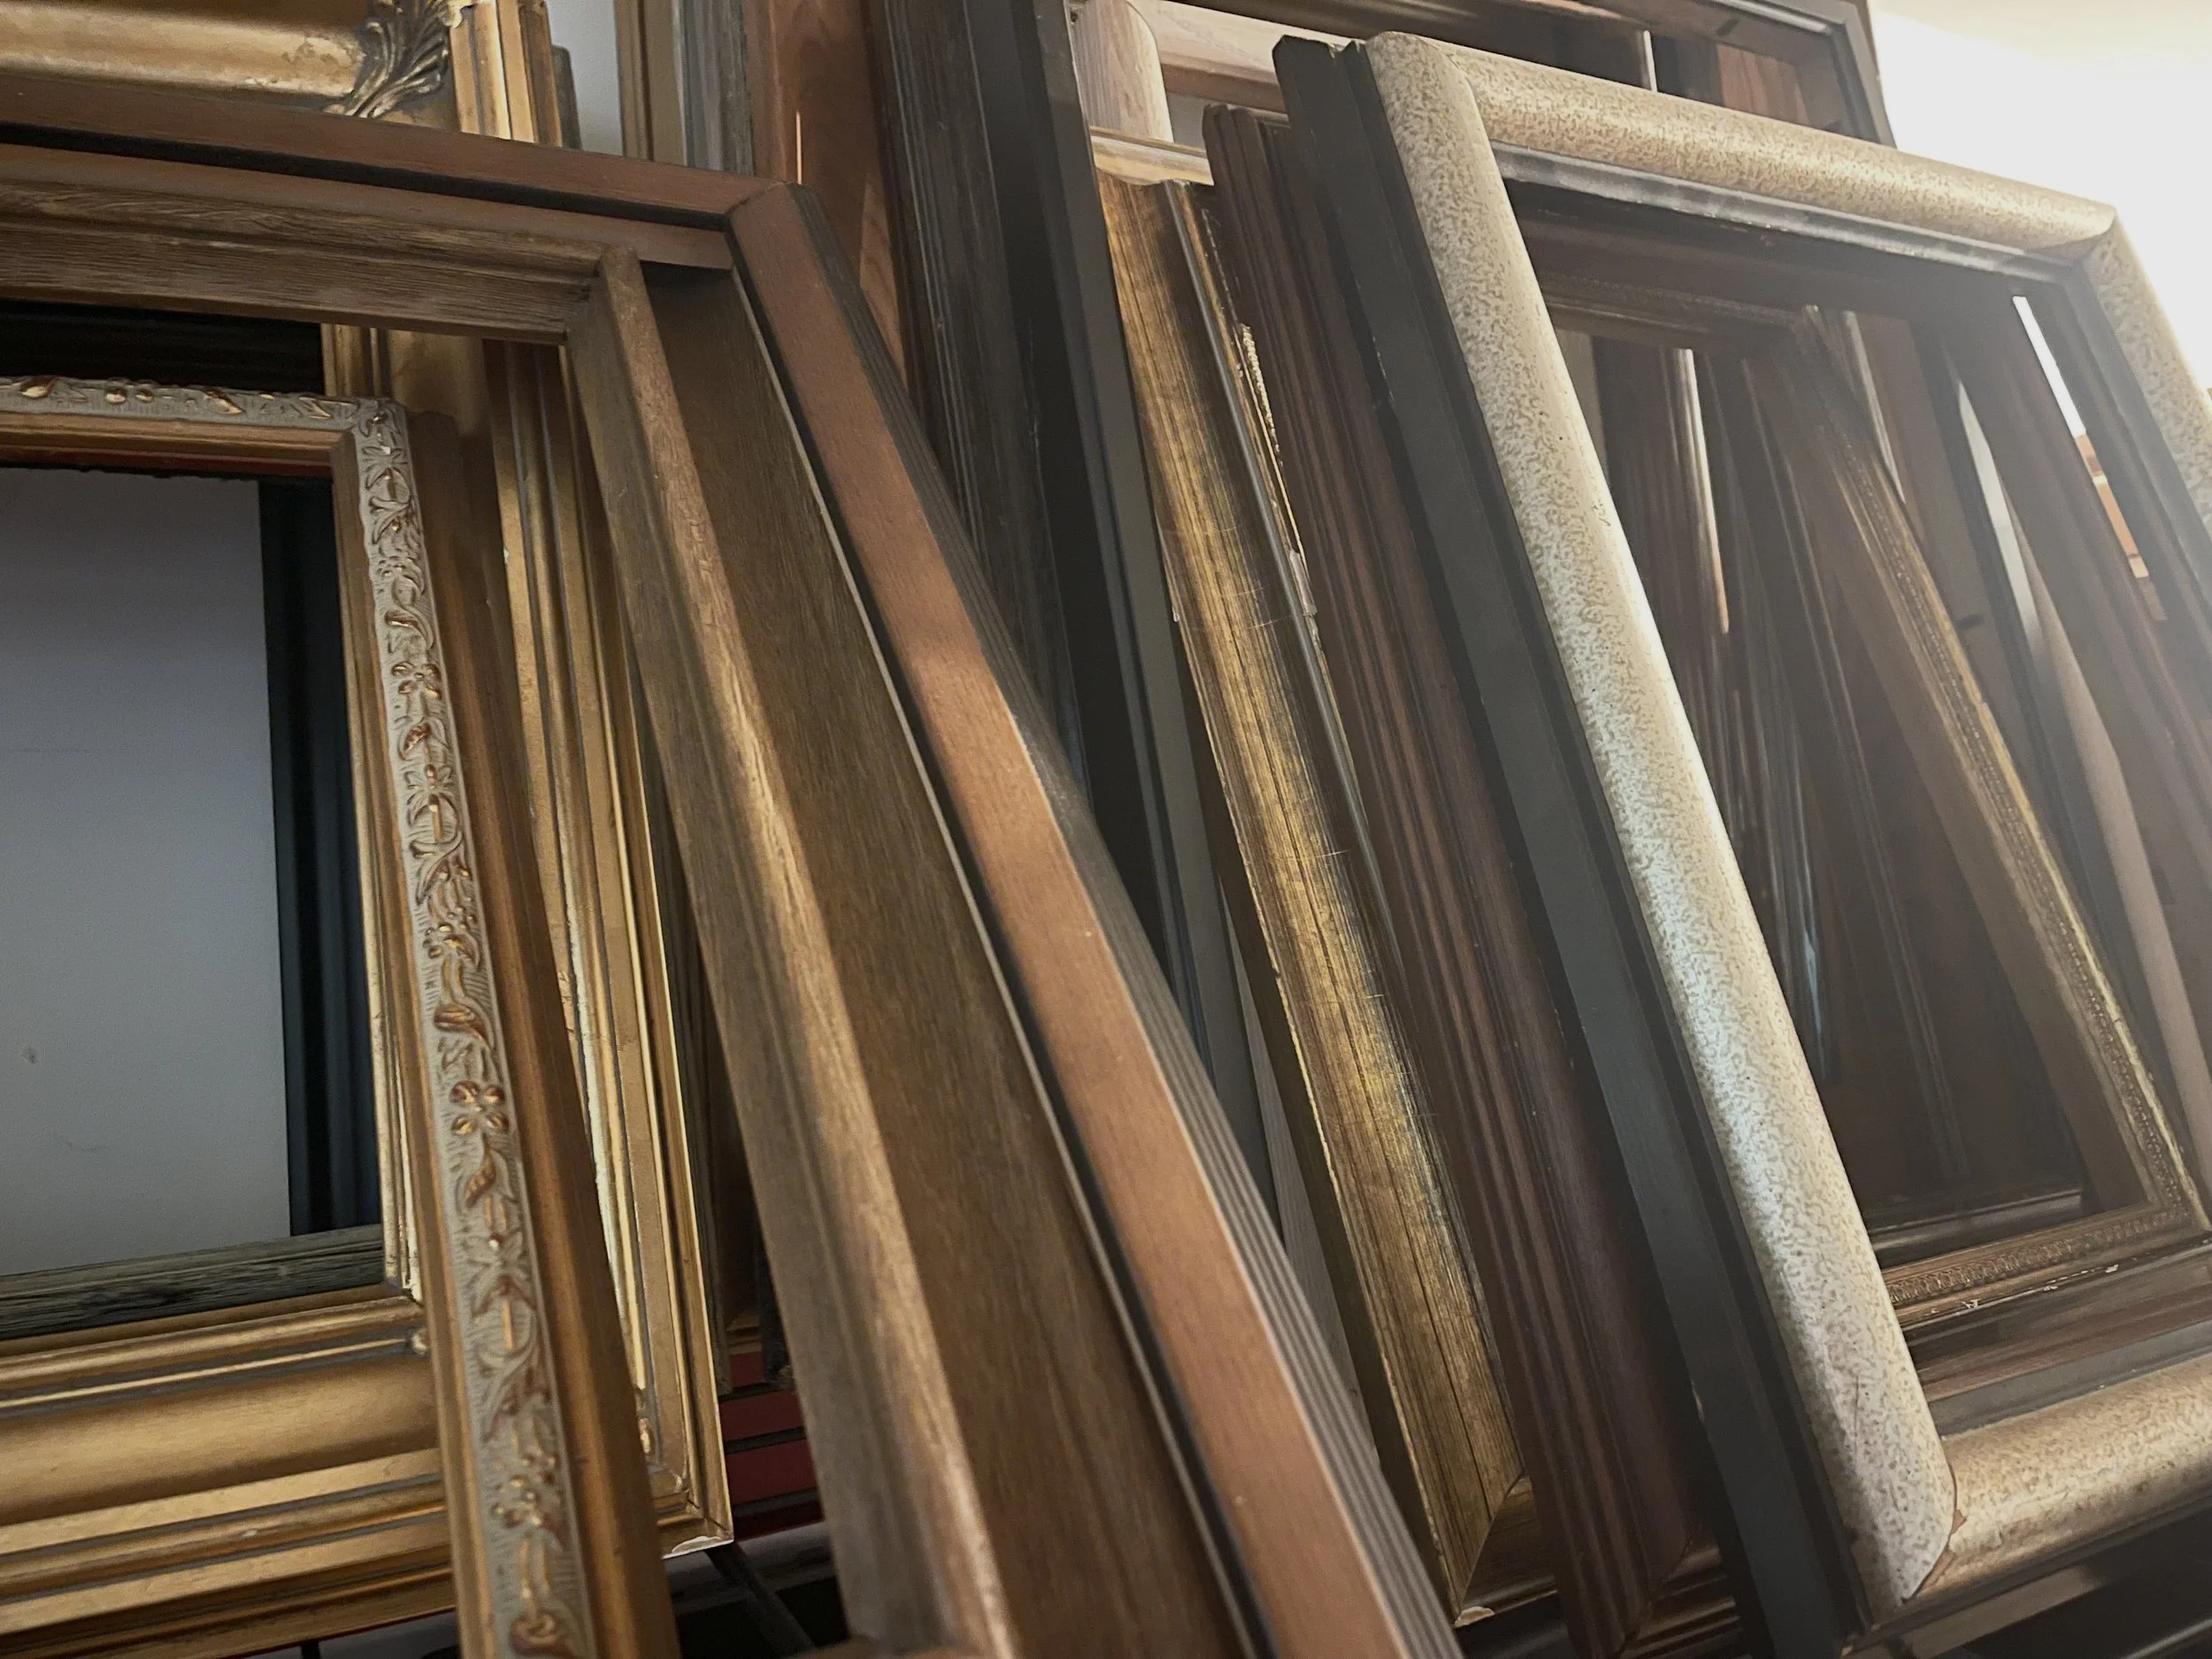
I also collect old frames that I find in thrift stores. On a few occasions I have used these vintage styles with customers who are open to experimenting. I love upcycling, and if the size is right, it can look pretty cool.
2. mat board(s)
Mat board is essentially a bunch of pieces of paper stacked up and adhered together to create a “board”. Some paper has an acid content. This acid can discolor artwork or documents, damaging them, making them brittle, and breaking them down over time. I only use archival mat boards that are acid free.
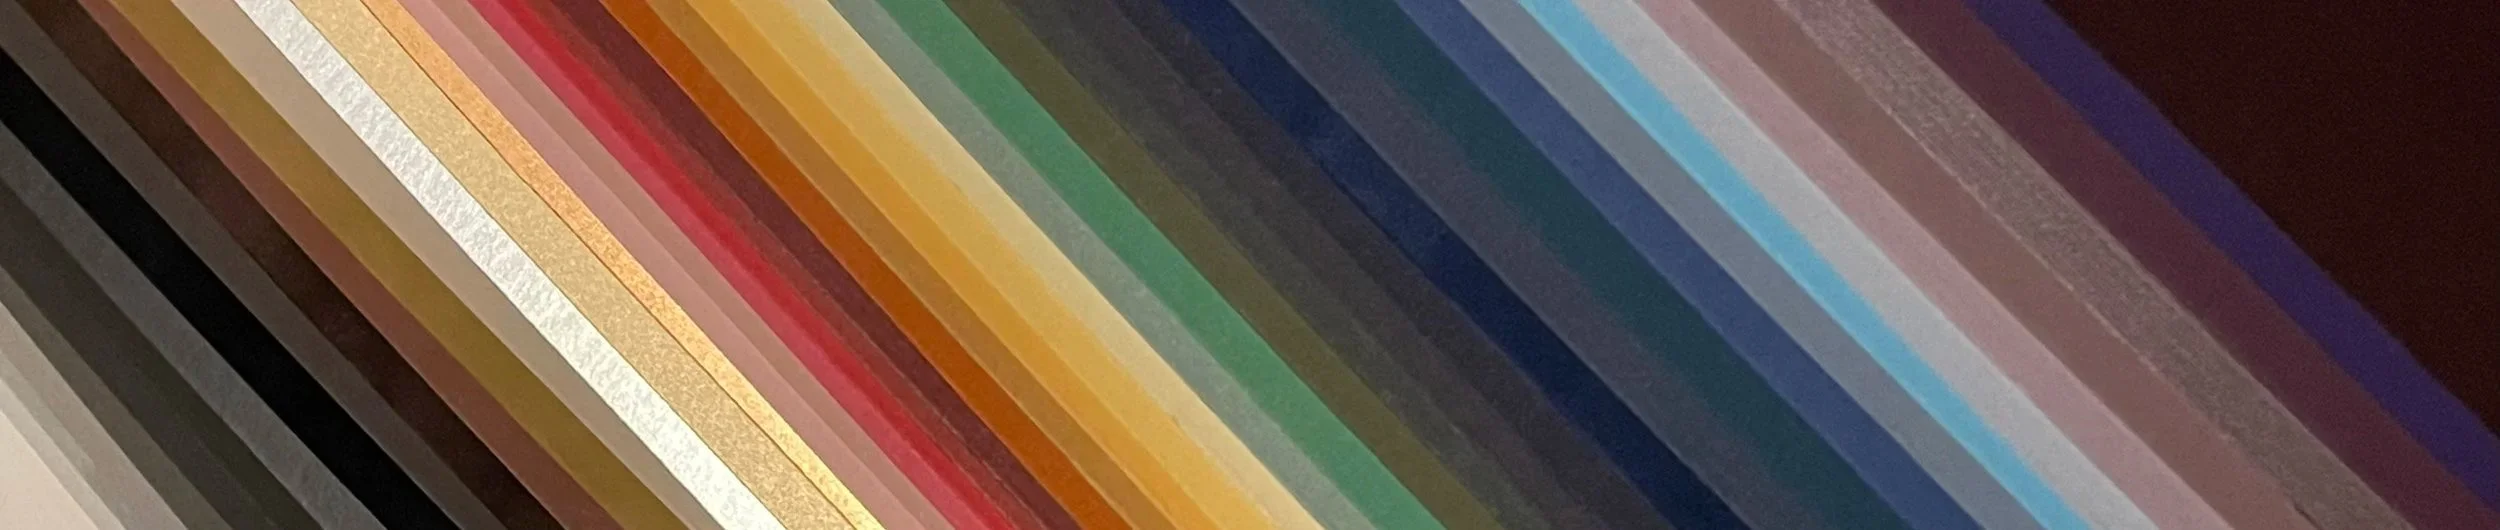
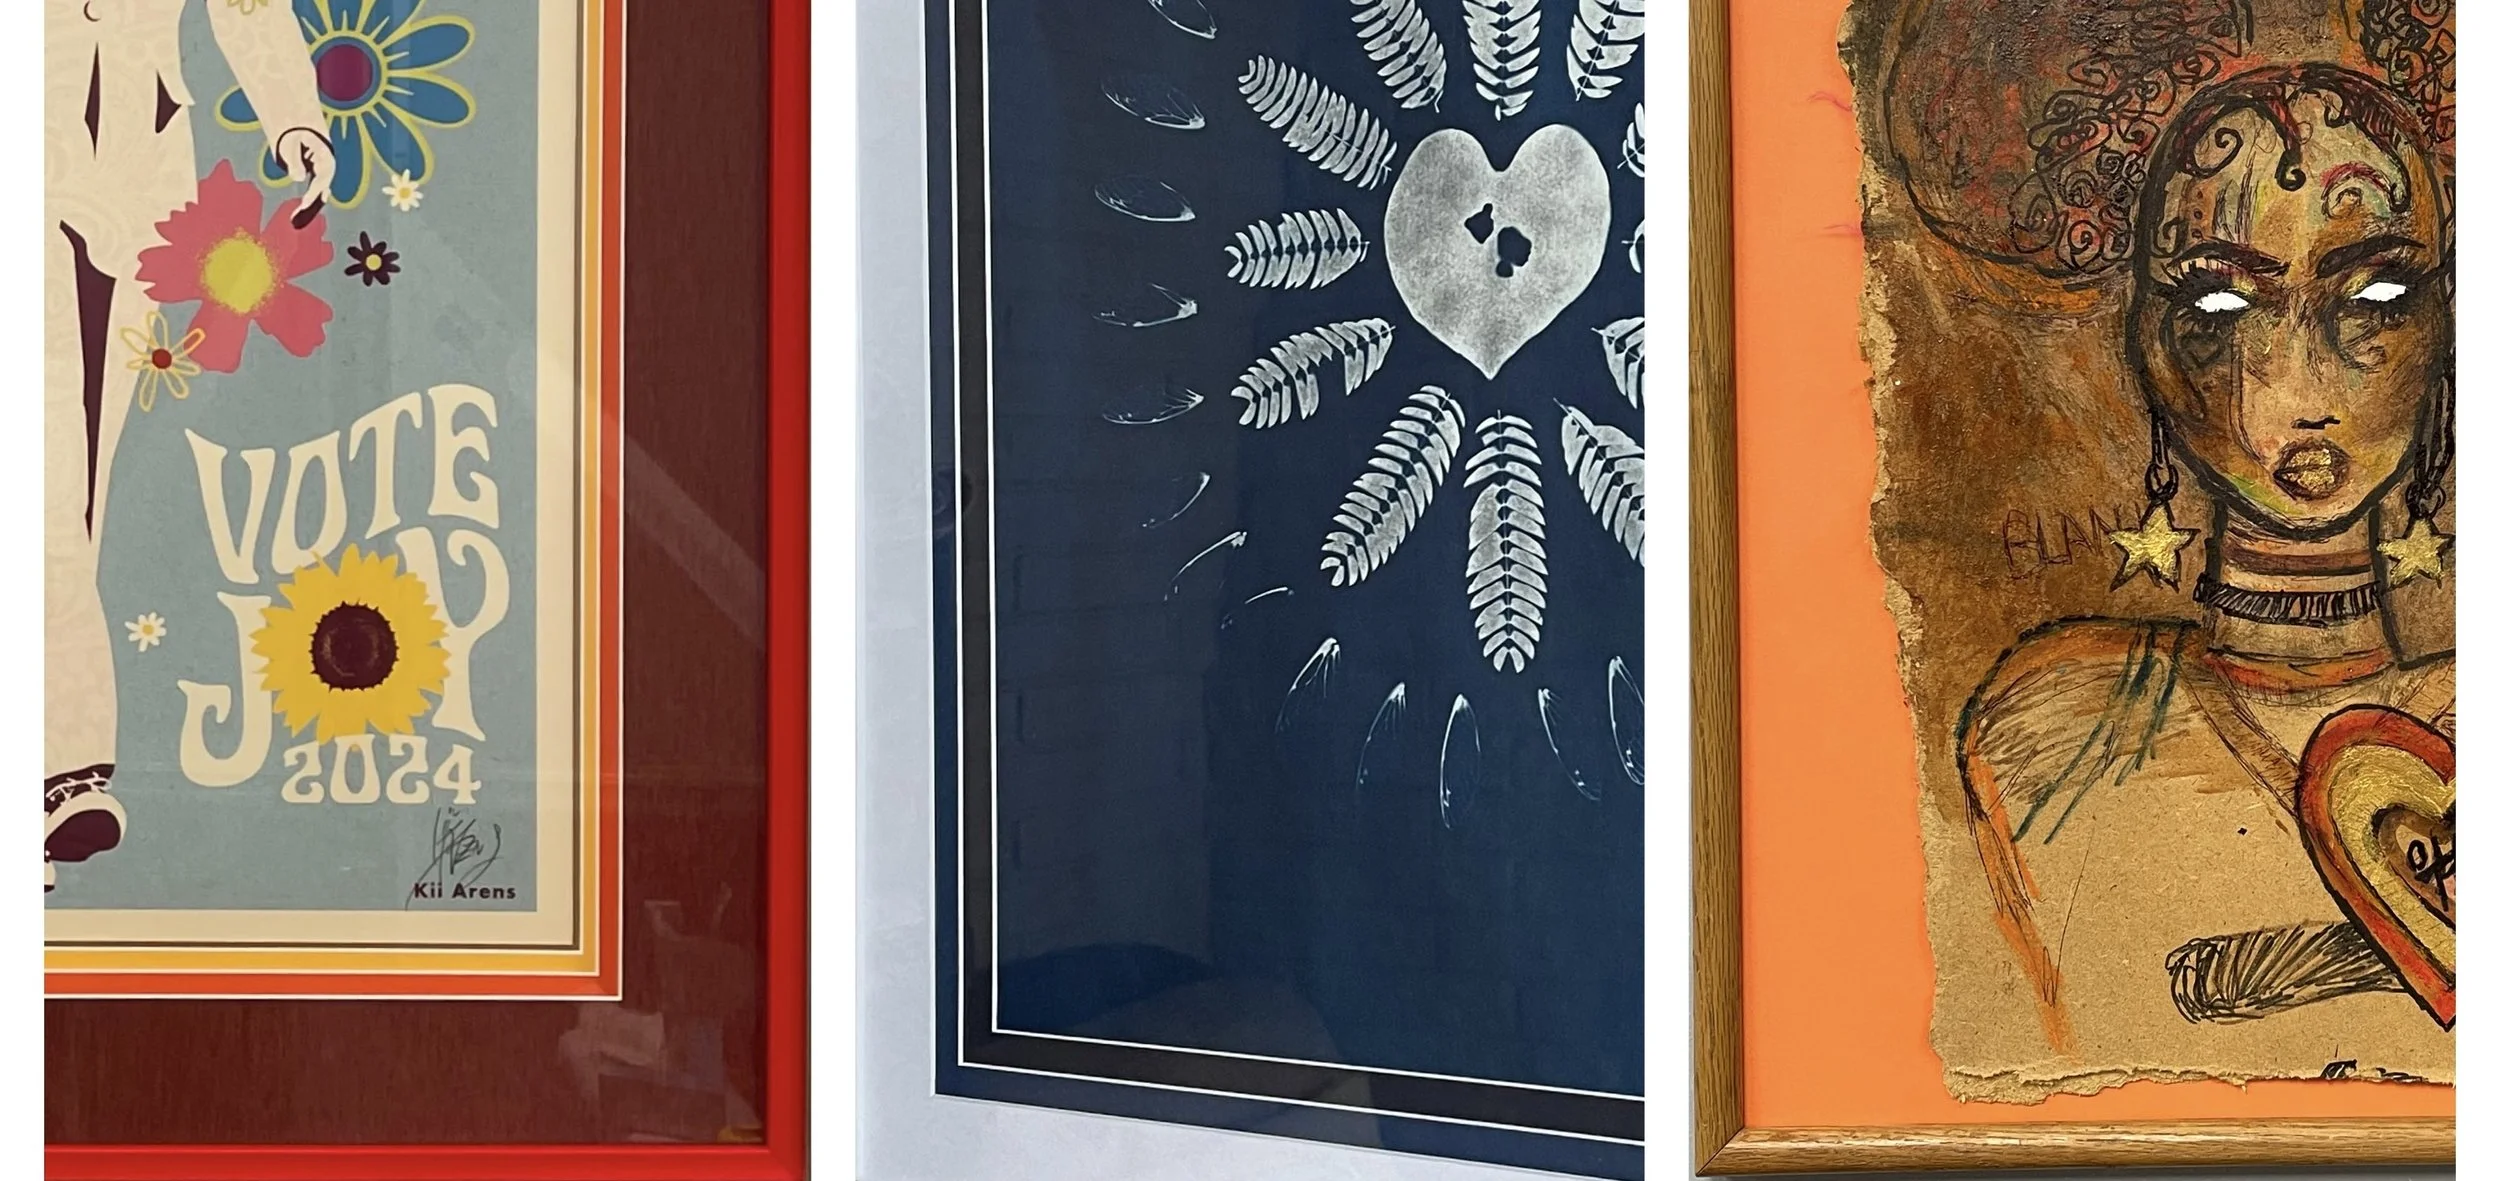
The inside edge of a mat is cut on an angle. The colors should compliment the art, not distract from it. Sometimes I like to get creative though and make the mats an extension of the artwork (especially with my own art).
3. glass
I think glass is one of the most important things when considering custom framing.
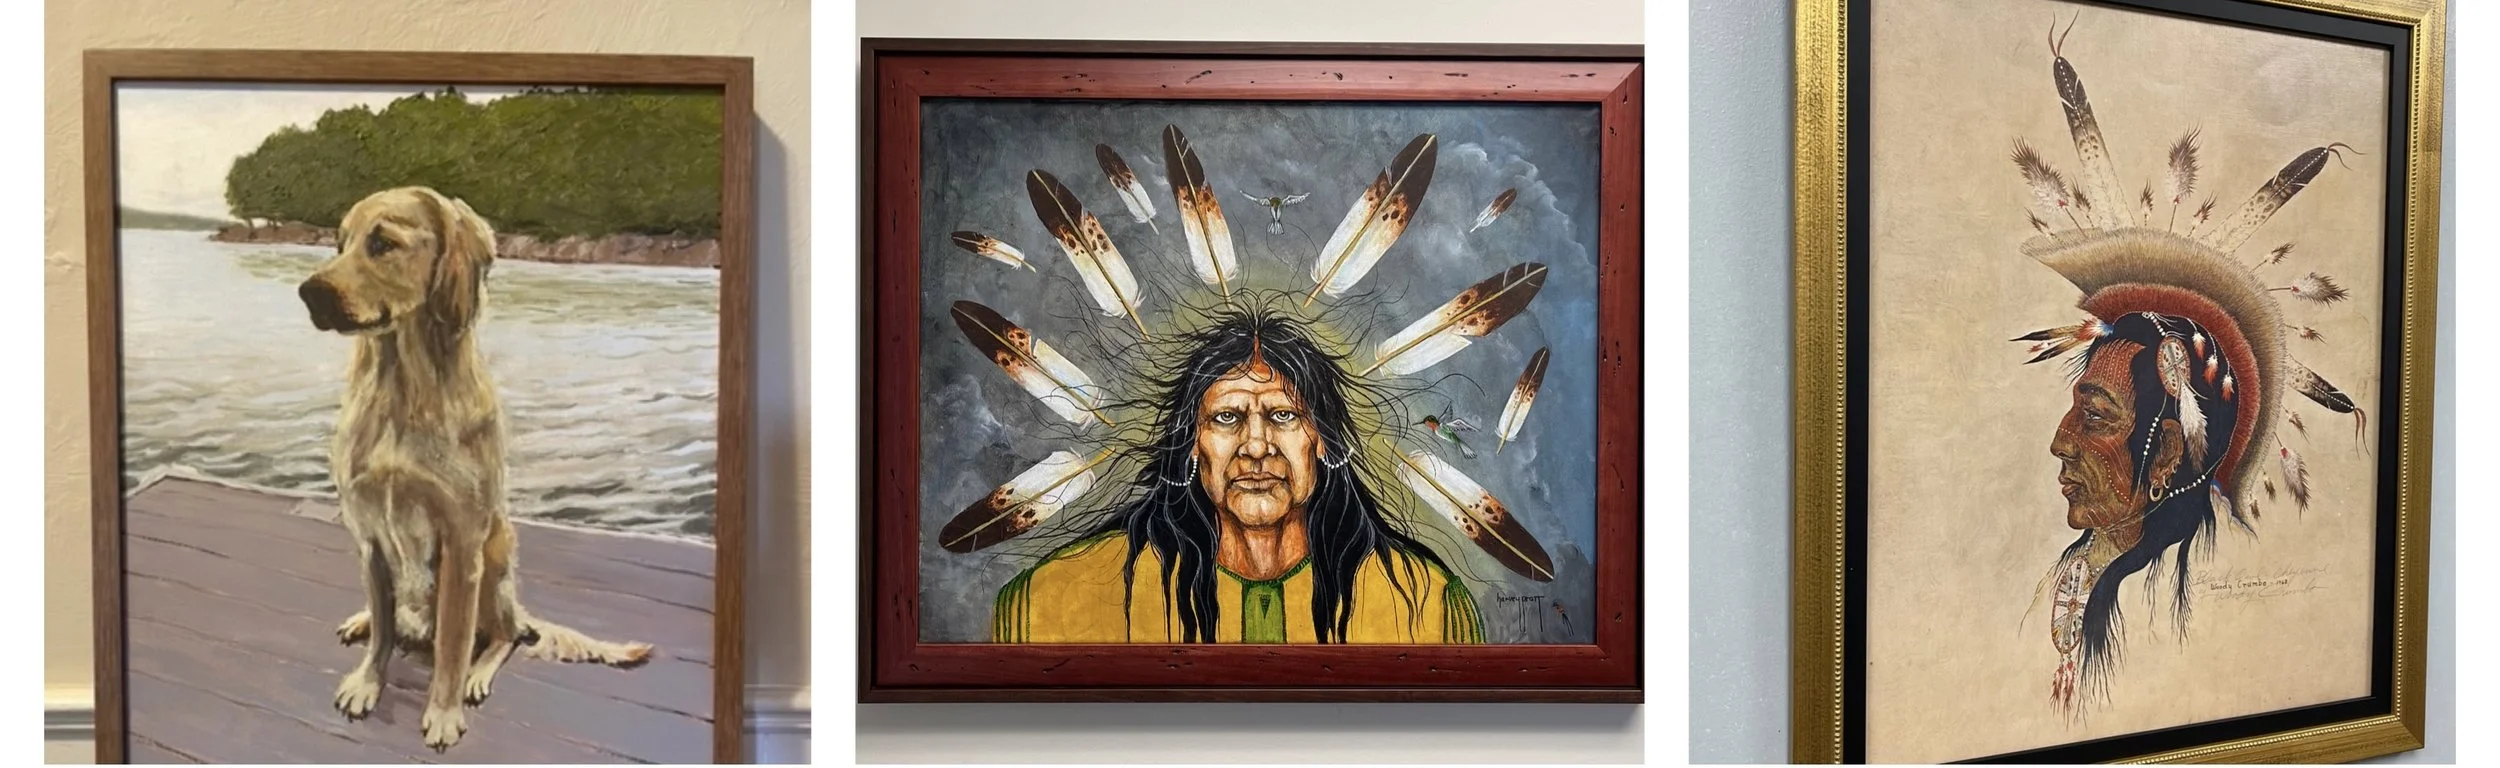
BUT not every frame requires glass. For example canvas or artwork on wood panel like these.
Most frames require glass, and most glass in storebought frames is not even glass at all. It’s flimsy plastic. Now, there are some ready-made photo frames online that offer real glass. But this glass has zero archival quality. Like I said before, this is fine for some things. I even use these readymade frames for bulk orders with schools and state agencies. Most people will re-frame those things if they want to display them later on, and businesses don’t have the funds to custom frame every diploma.
BUT if you want to truly protect what’s behind that glass, you need custom framing.
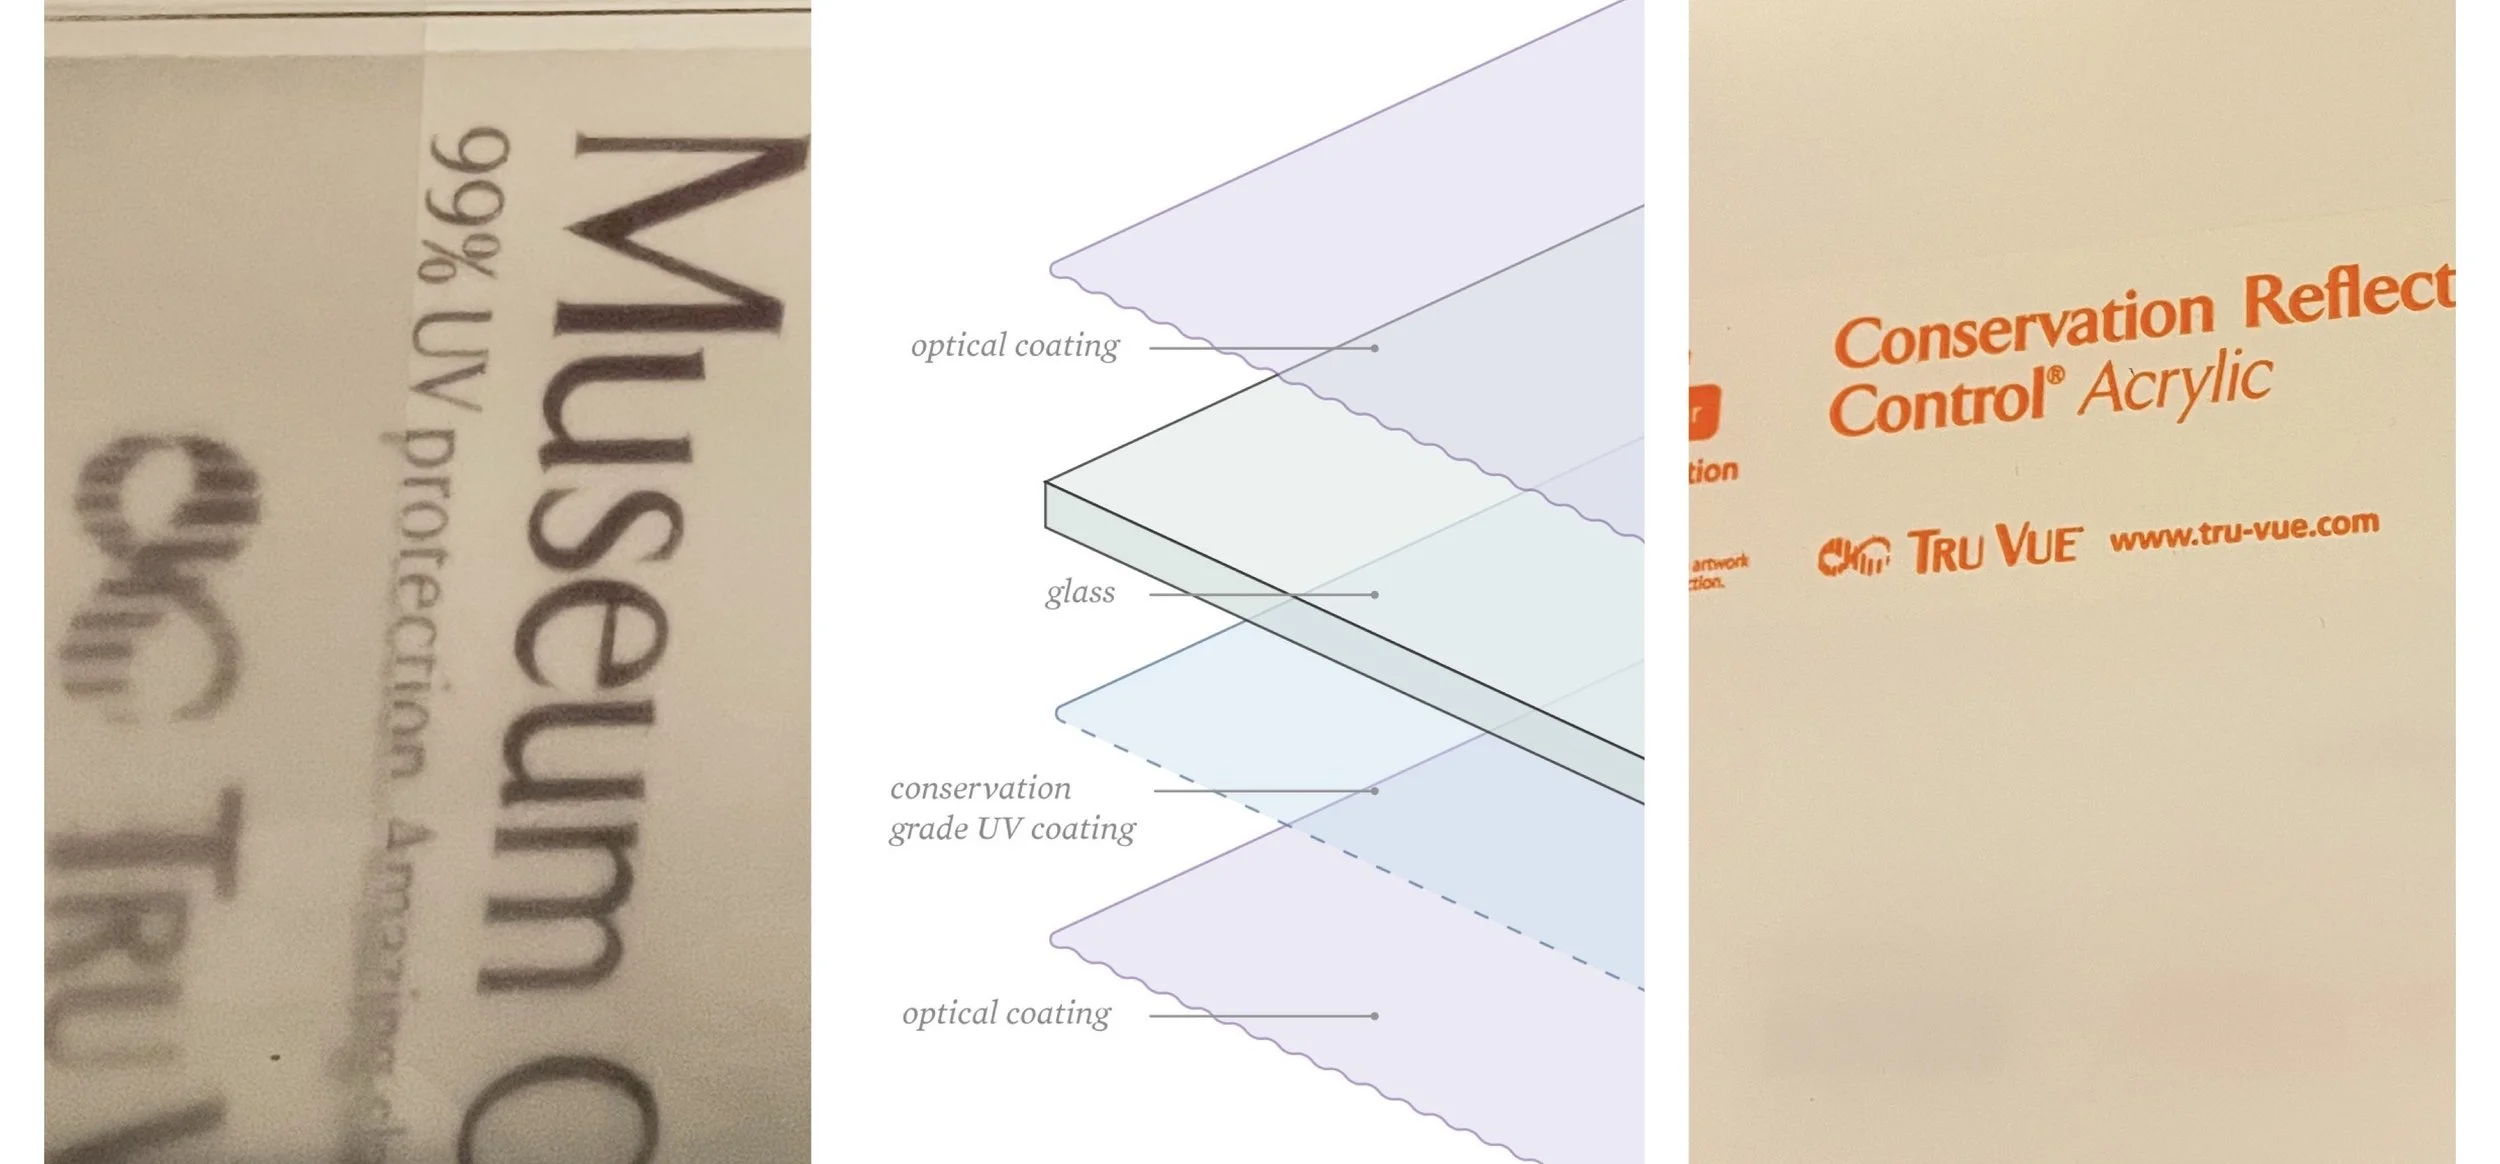
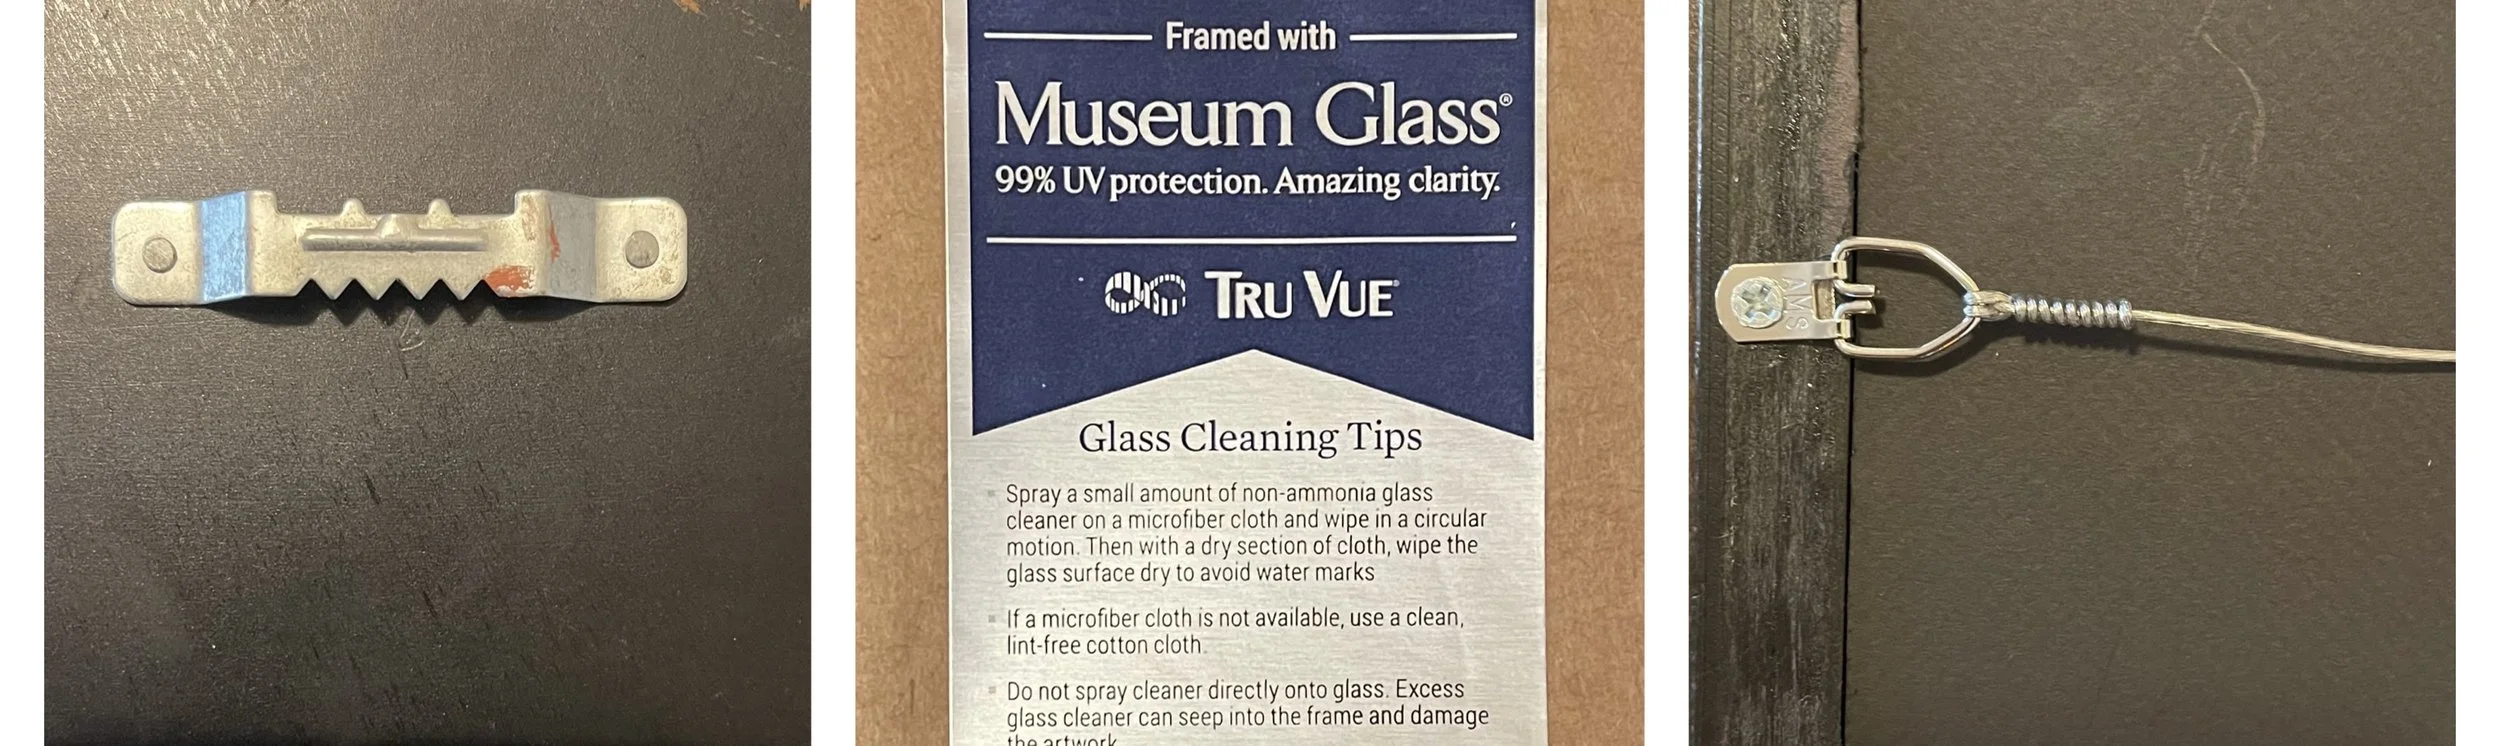
I use Tru Vue glass on every piece. There are varying levels of quality with this glass, but it’s always at least 45% UV protective. I offer glass upgrades like anti-reflective, shatter resistant plexiglass, and conservation museum glass. I personally use museum glass on all my own artwork in my house. It’s anti reflective, 99% UV protective and it is nearly invisible. Like the name suggests, it is used in museums, not only for frames but also for glass cases. It is definitely an investment, but one that I think is worth it. AND I offer payment plans!
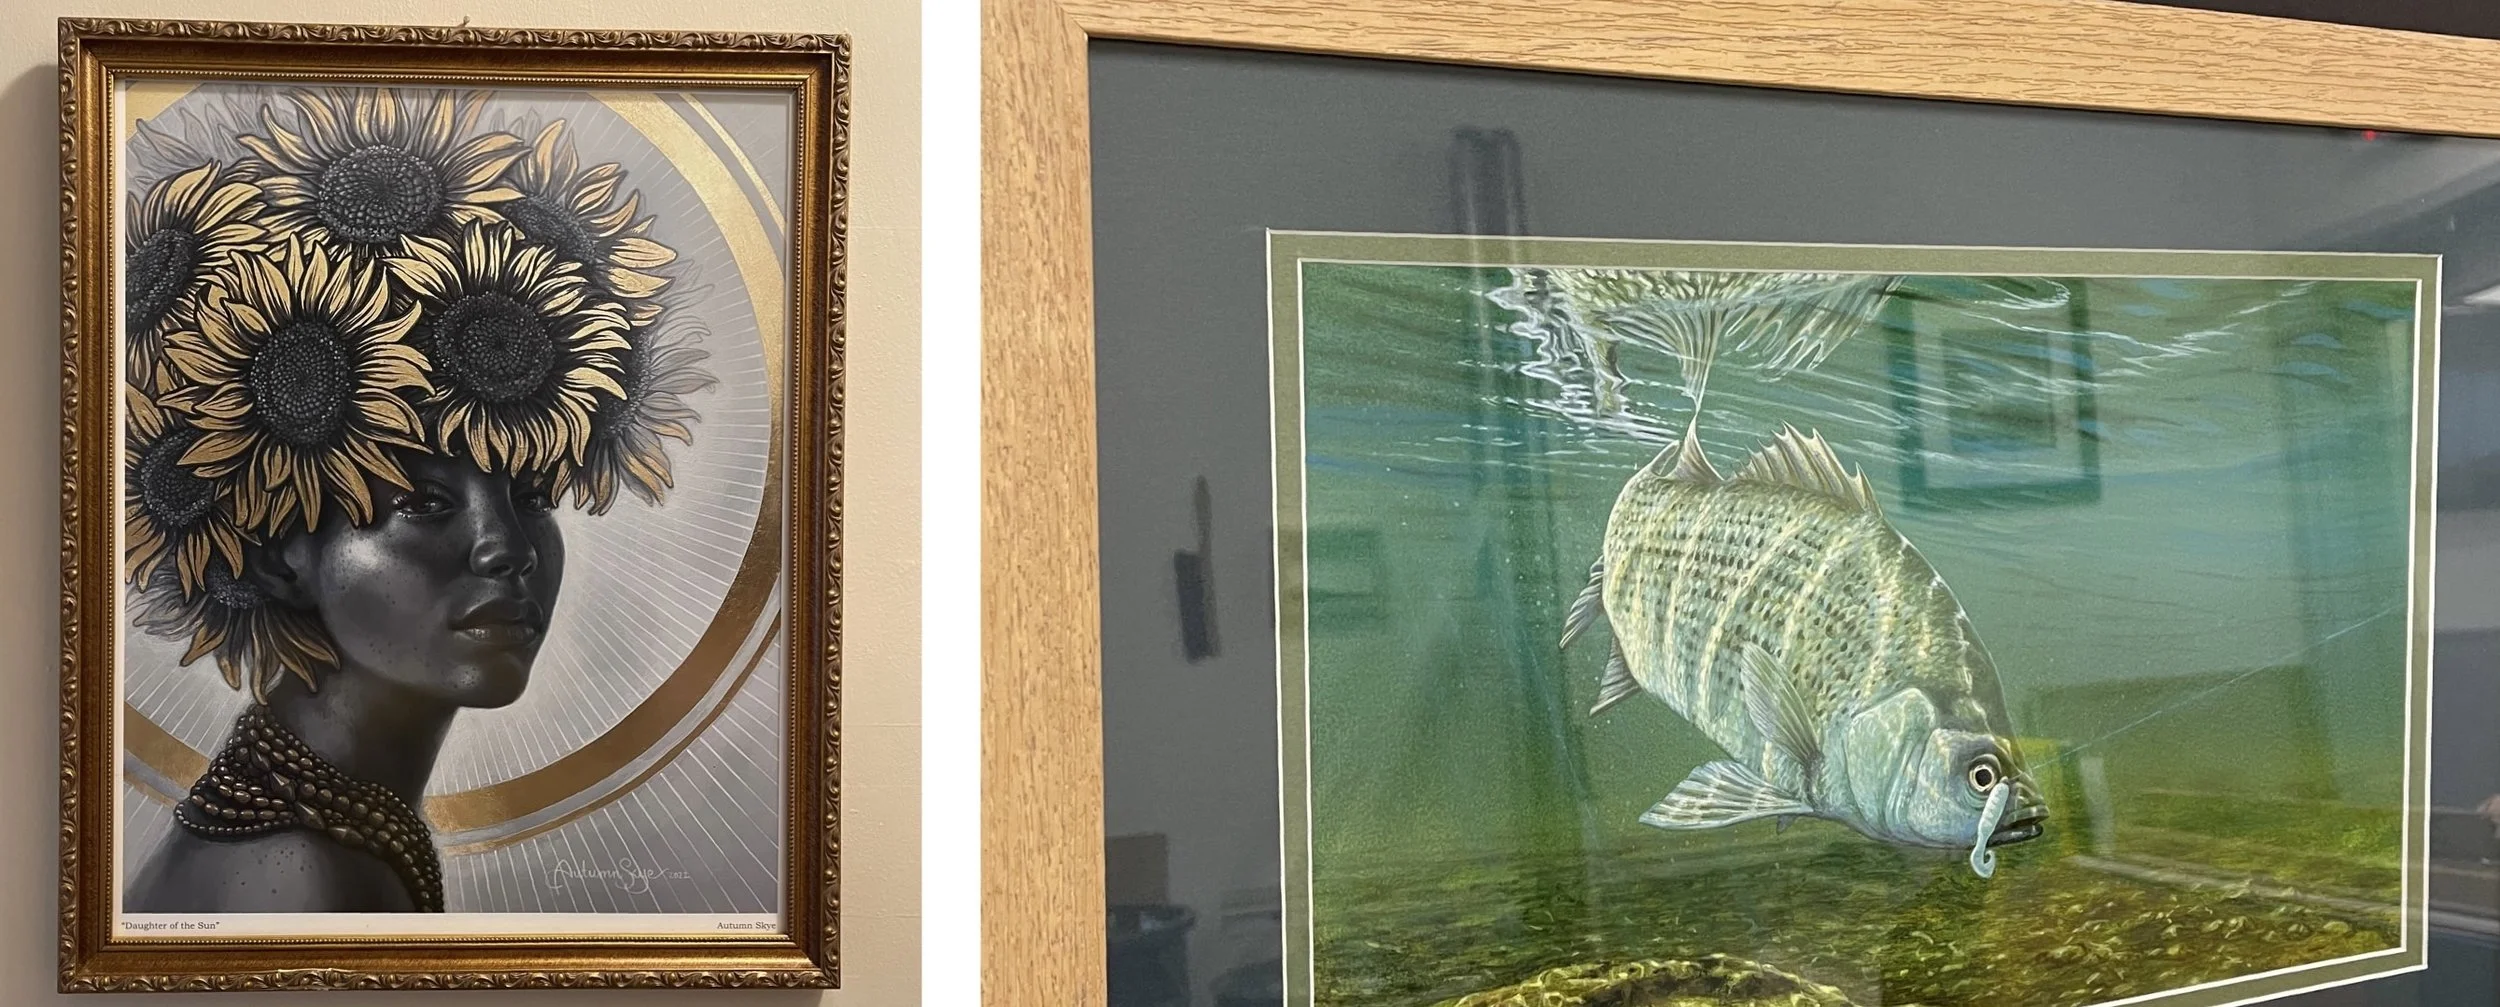
The artwork on the left was framed with museum glass and photographed straight on. It has zero reflection. The art on the right was framed with regular glass and photographed at an angle (so I didn’t get my own reflection in the shot). But can you see all the reflections in that glass!?
4. mounting, backing & hanging hardware
The term mounting refers to how the piece or pieces are attached inside the frame. I’ve included some examples below. Tape, glue and other mounting materials can also have that acid content. Again, I only use acid free archival mounting materials.
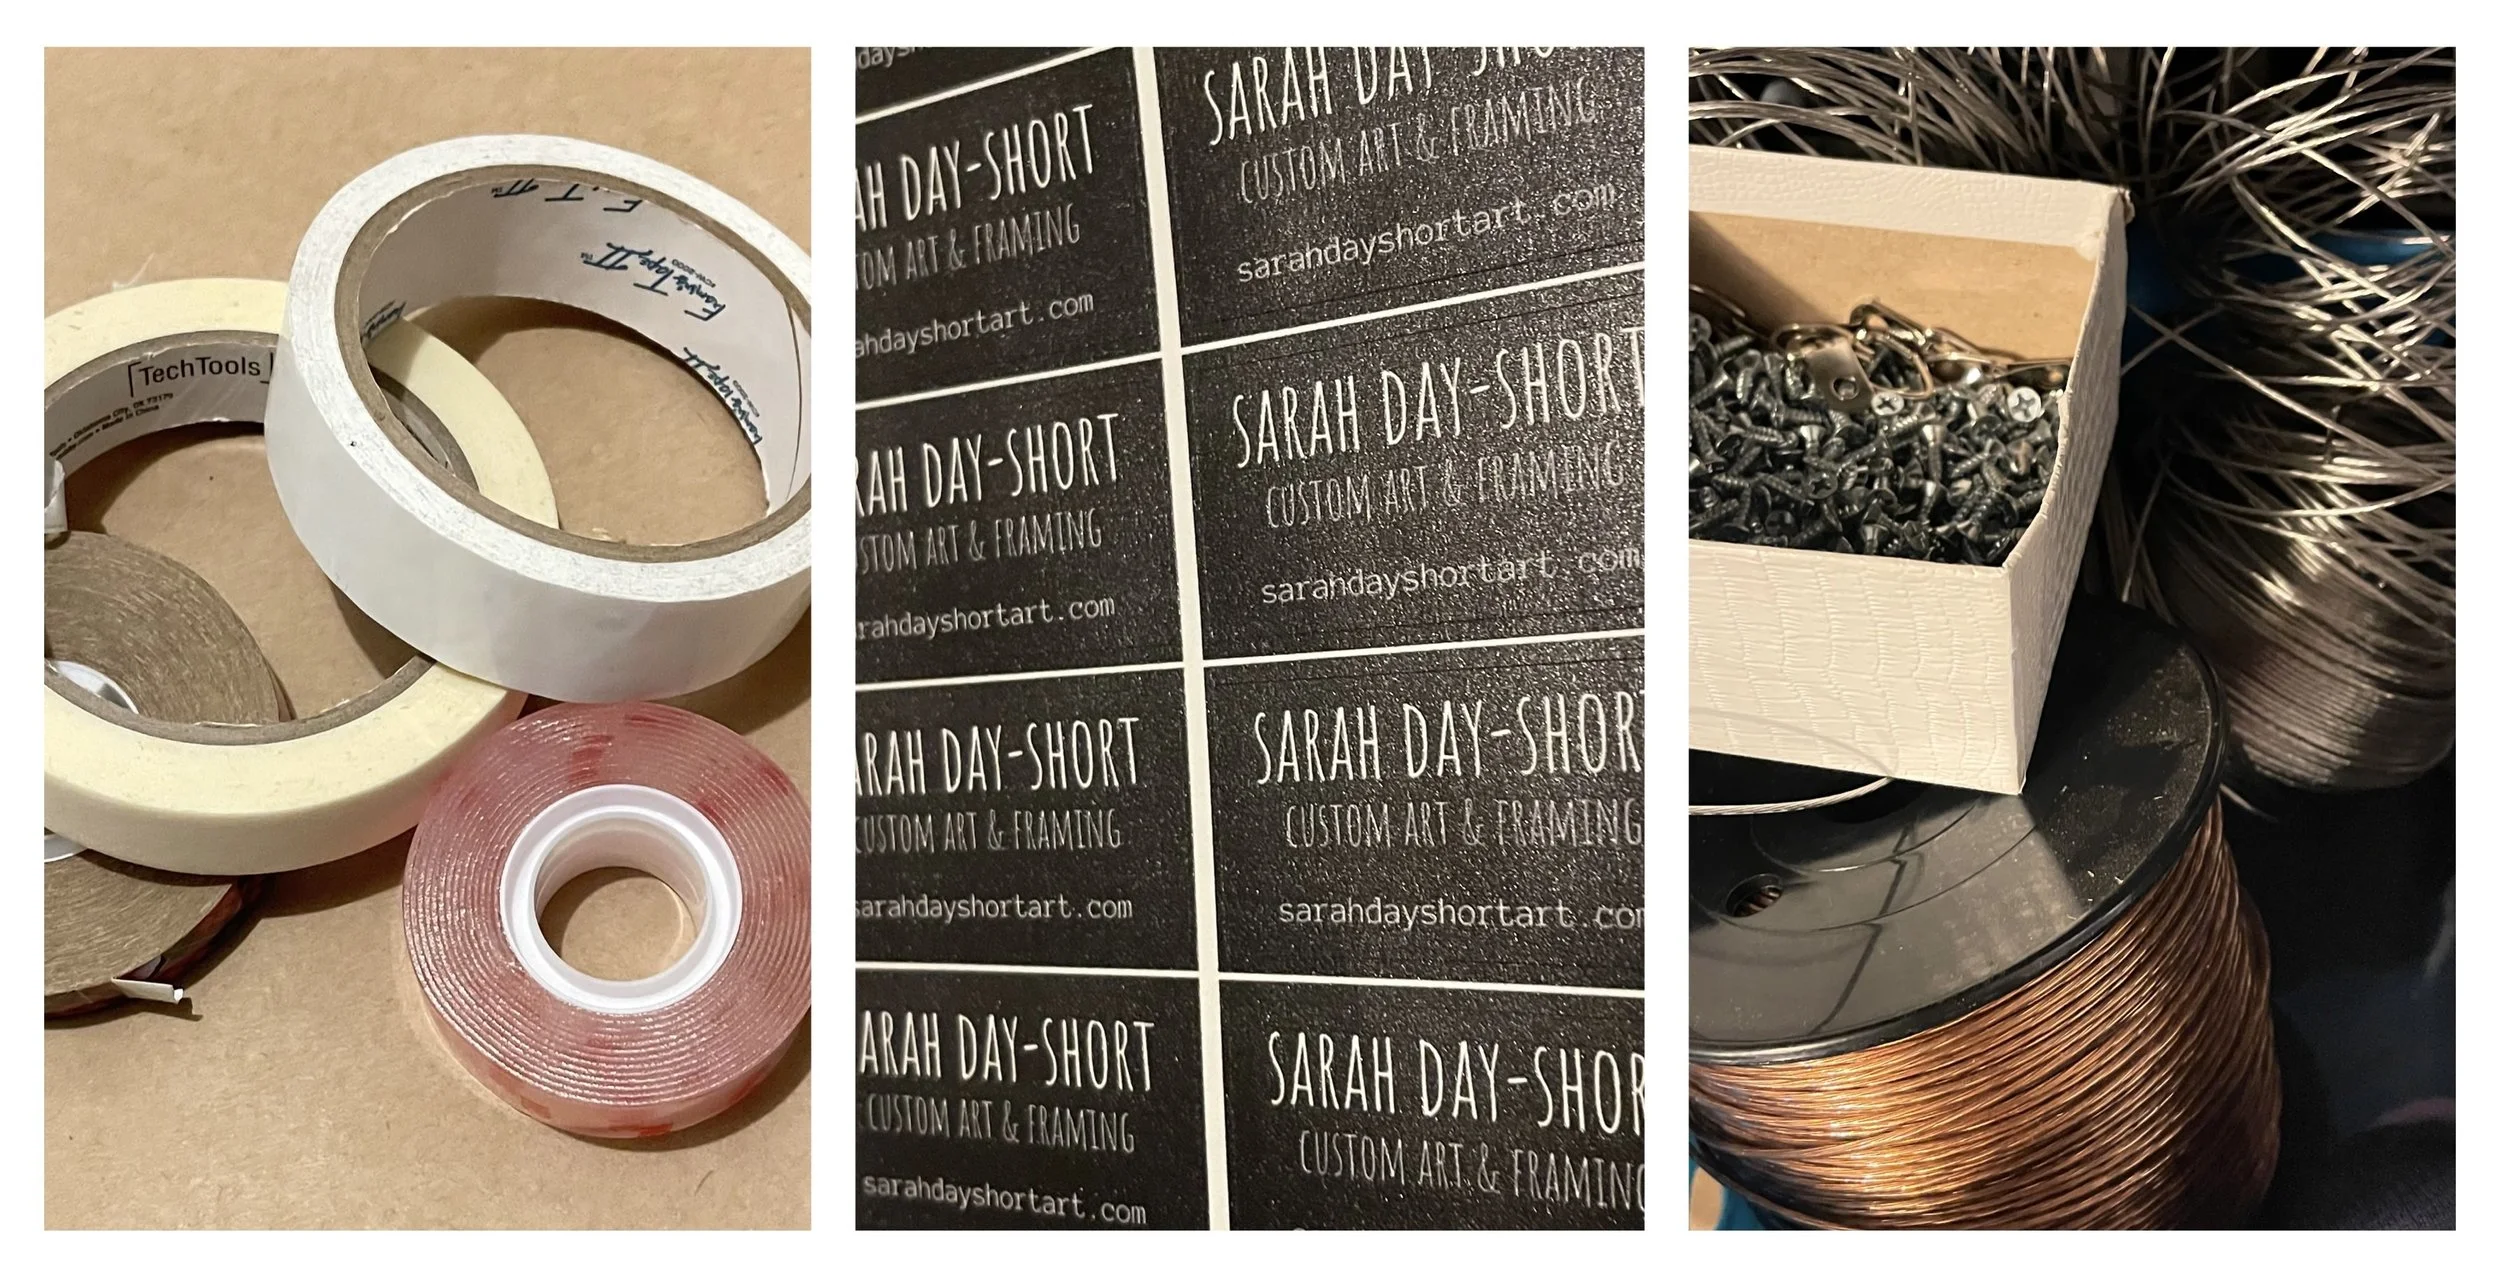
Backing board seems like it wouldn’t matter much, right? Wrong! I’ve taken some old frames apart that have plain old cardboard or chip board behind really valuable artwork, and surprise, the art is damaged.
I use foam board. It’s acid free, archival and gives a nice cushion in case of drops or accidents during moving.
Then I use framing points to secure everything in place.
Last I seal it with paper and add any info about the artwork inside or care tips for your frame/glass.
You’ll always get hanging hardware on the back as well. I use D-rings and wire OR sawtooth hangers. We’ll discuss what works best for your piece.
so are you ready to get started?
HOW IT WORKS
step 1 - fill out the form at the bottom of this page. Leave a brief description of the item(s) you need framed. You can give color preferences, an estimated size or ask any questions here.
step 2 - I’ll arrange an in person appointment or pick up / drop off of the items, get accurate measurements, send you photos with different options and then send your free estimate.
step 3 - choose your finishes and approve the estimate. In some cases you’ll pay a deposit as well. If you decide you’re not ready, I can return your items to you. No worries!
step 4 - arrange pick up, drop off or shipping and final payment. We can also setup a payment plan if needed.
step 5 - your frames come ready to hang. Enjoy and spread the word!
Congratulations if you made this far, and thank you for reading!